
Get a quote
Pricing and how to request a quote
Contact for a quote
Food photography for restaurants, chefs, and menus in Miami. We shoot real plated dishes so images look like what arrives at the table. Use photos for printed menus, social posts, or editorial pages and make food look fresh and ready to eat. Studio at NW 28th St
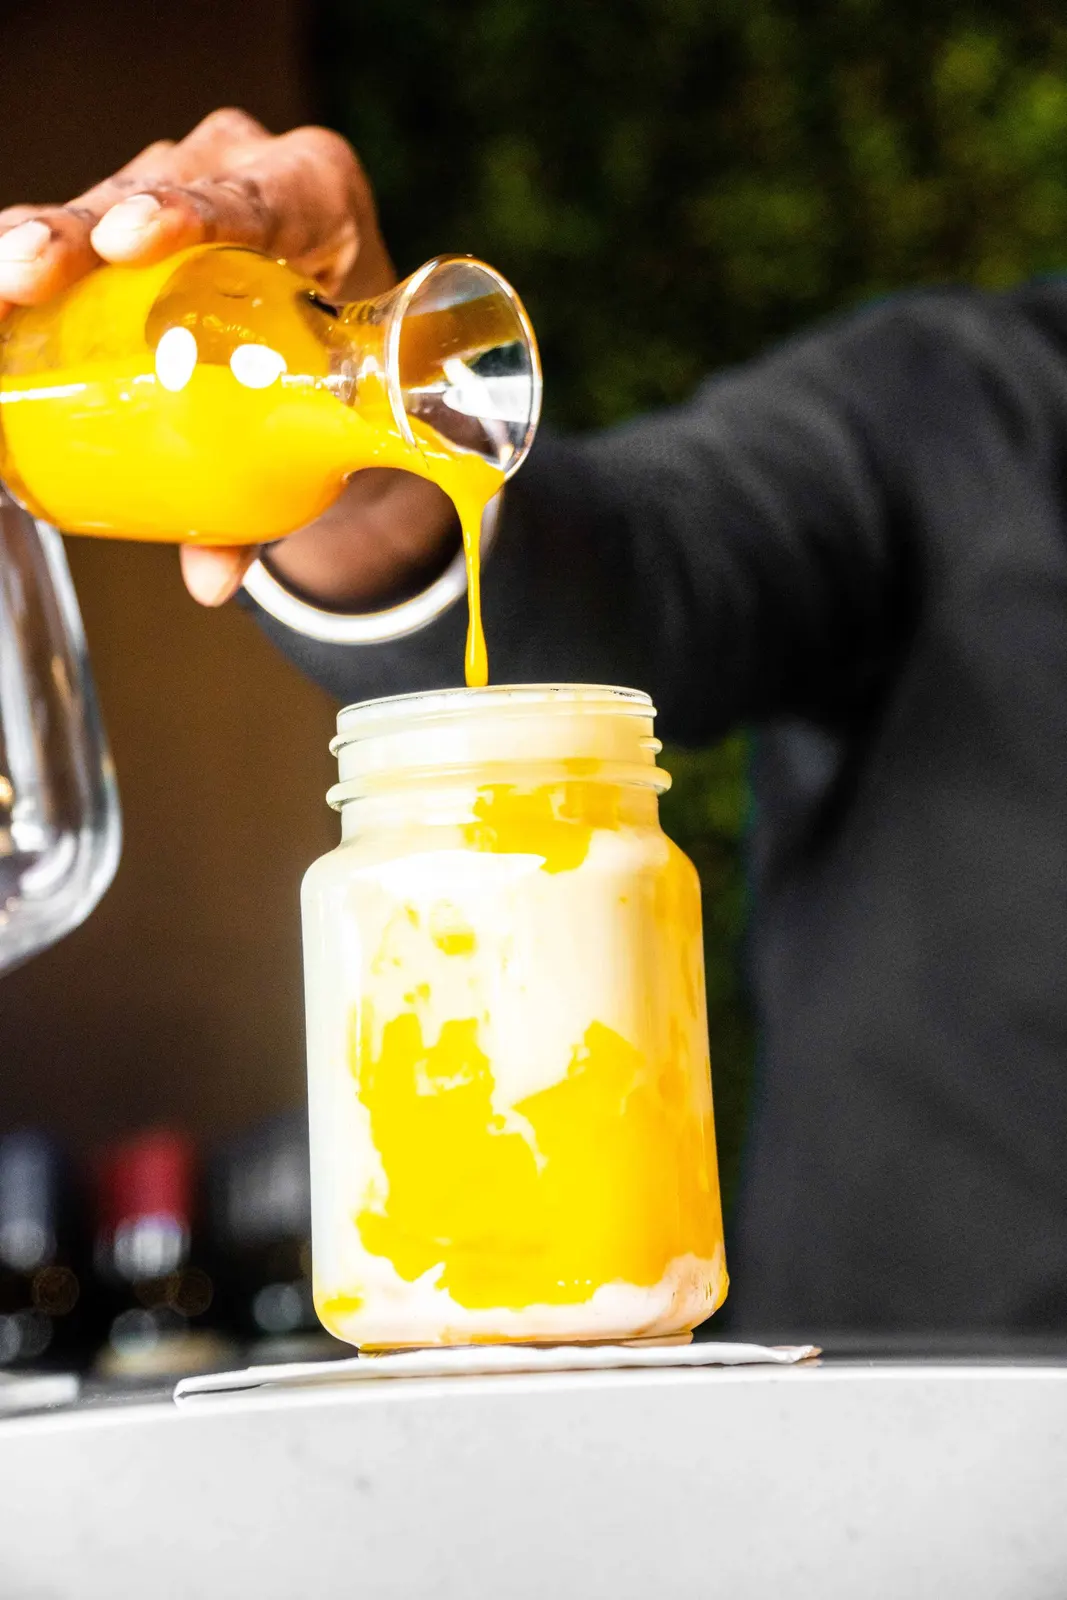
Explore a selection of our work.
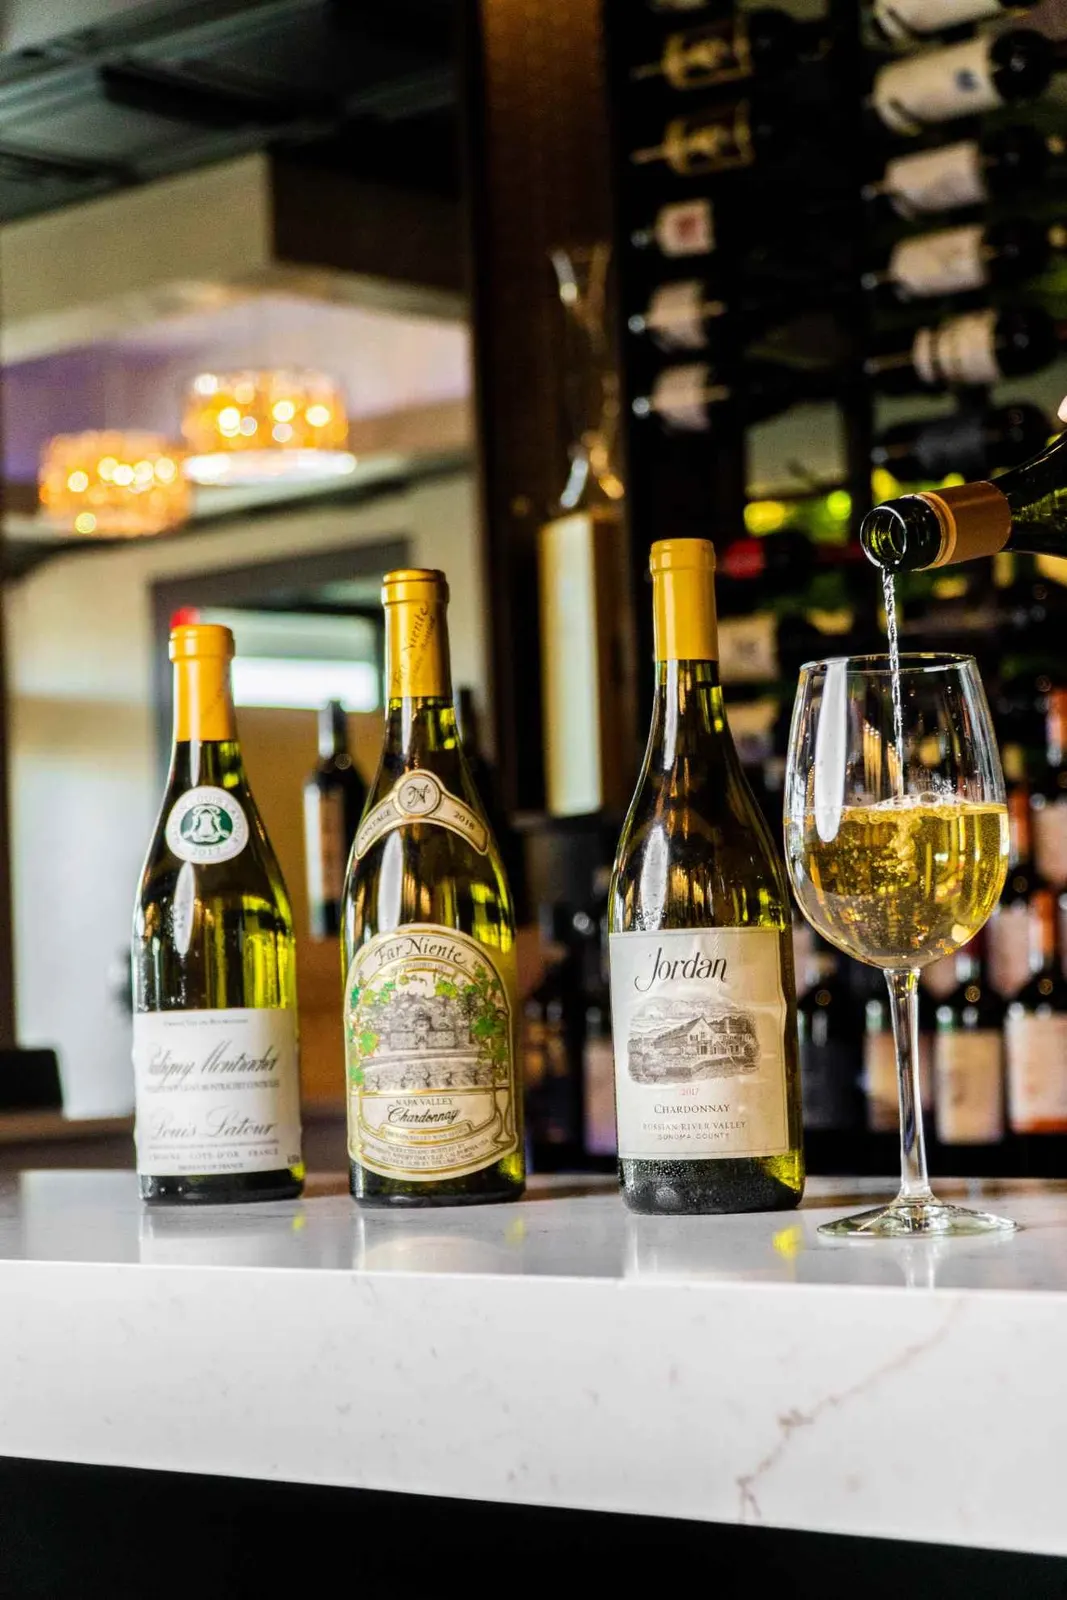
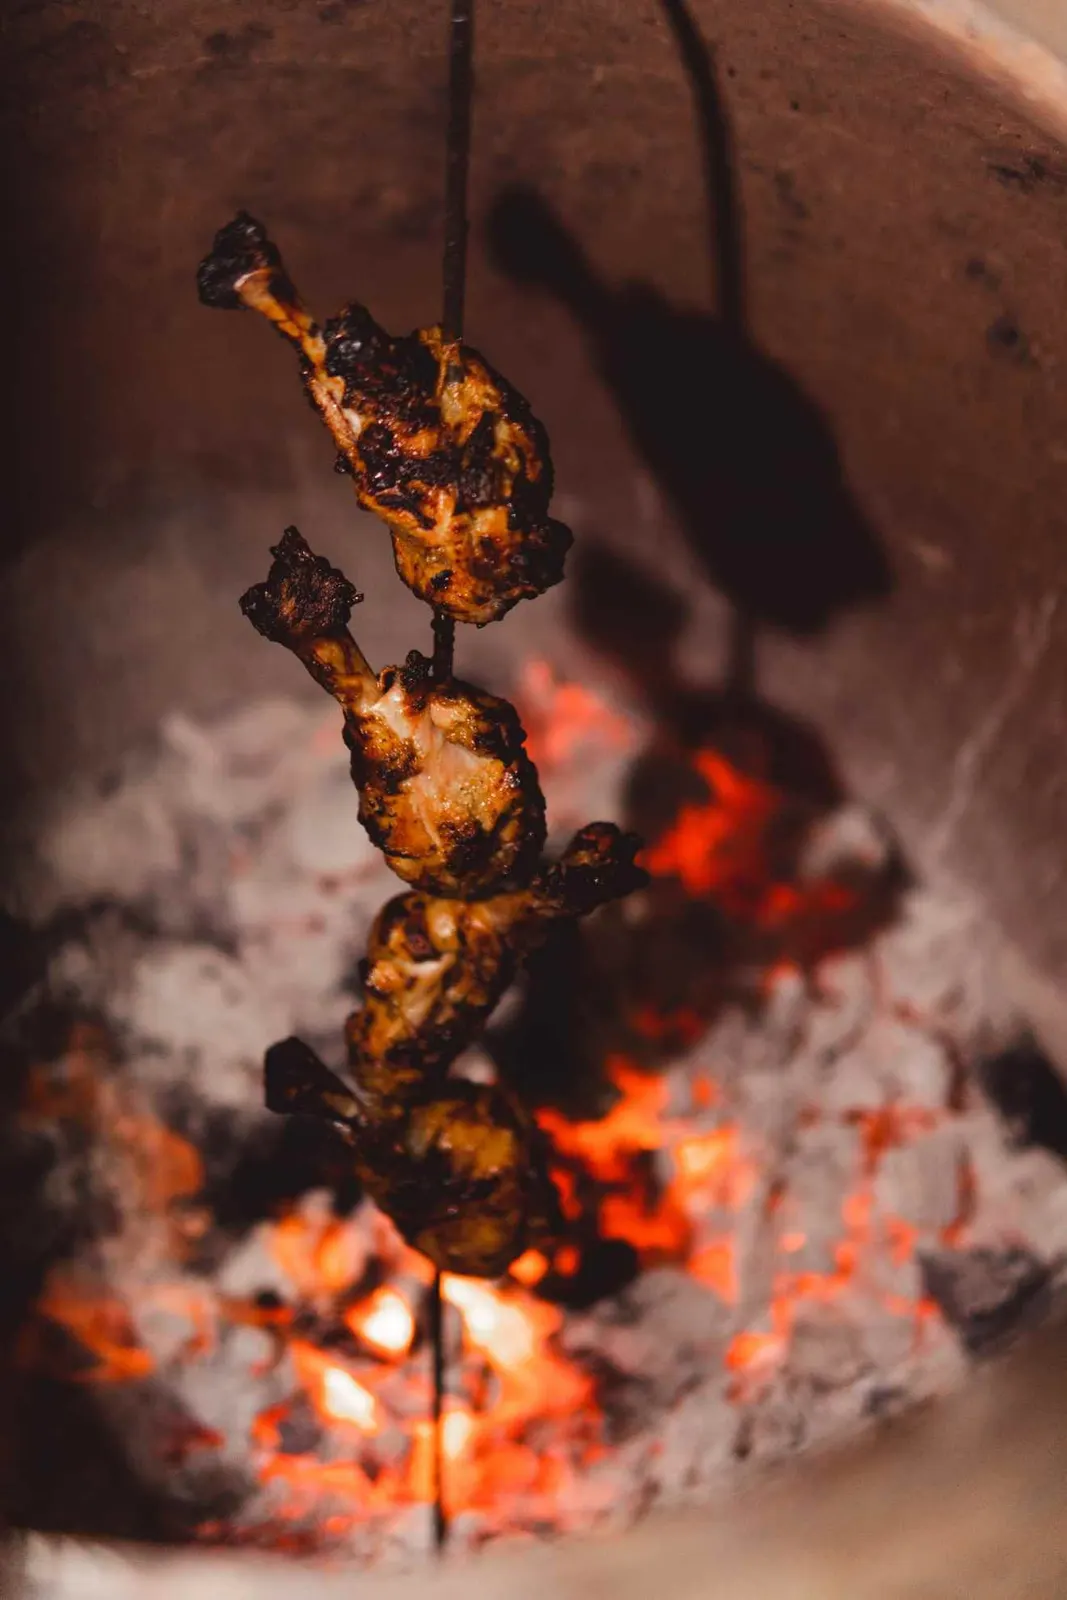
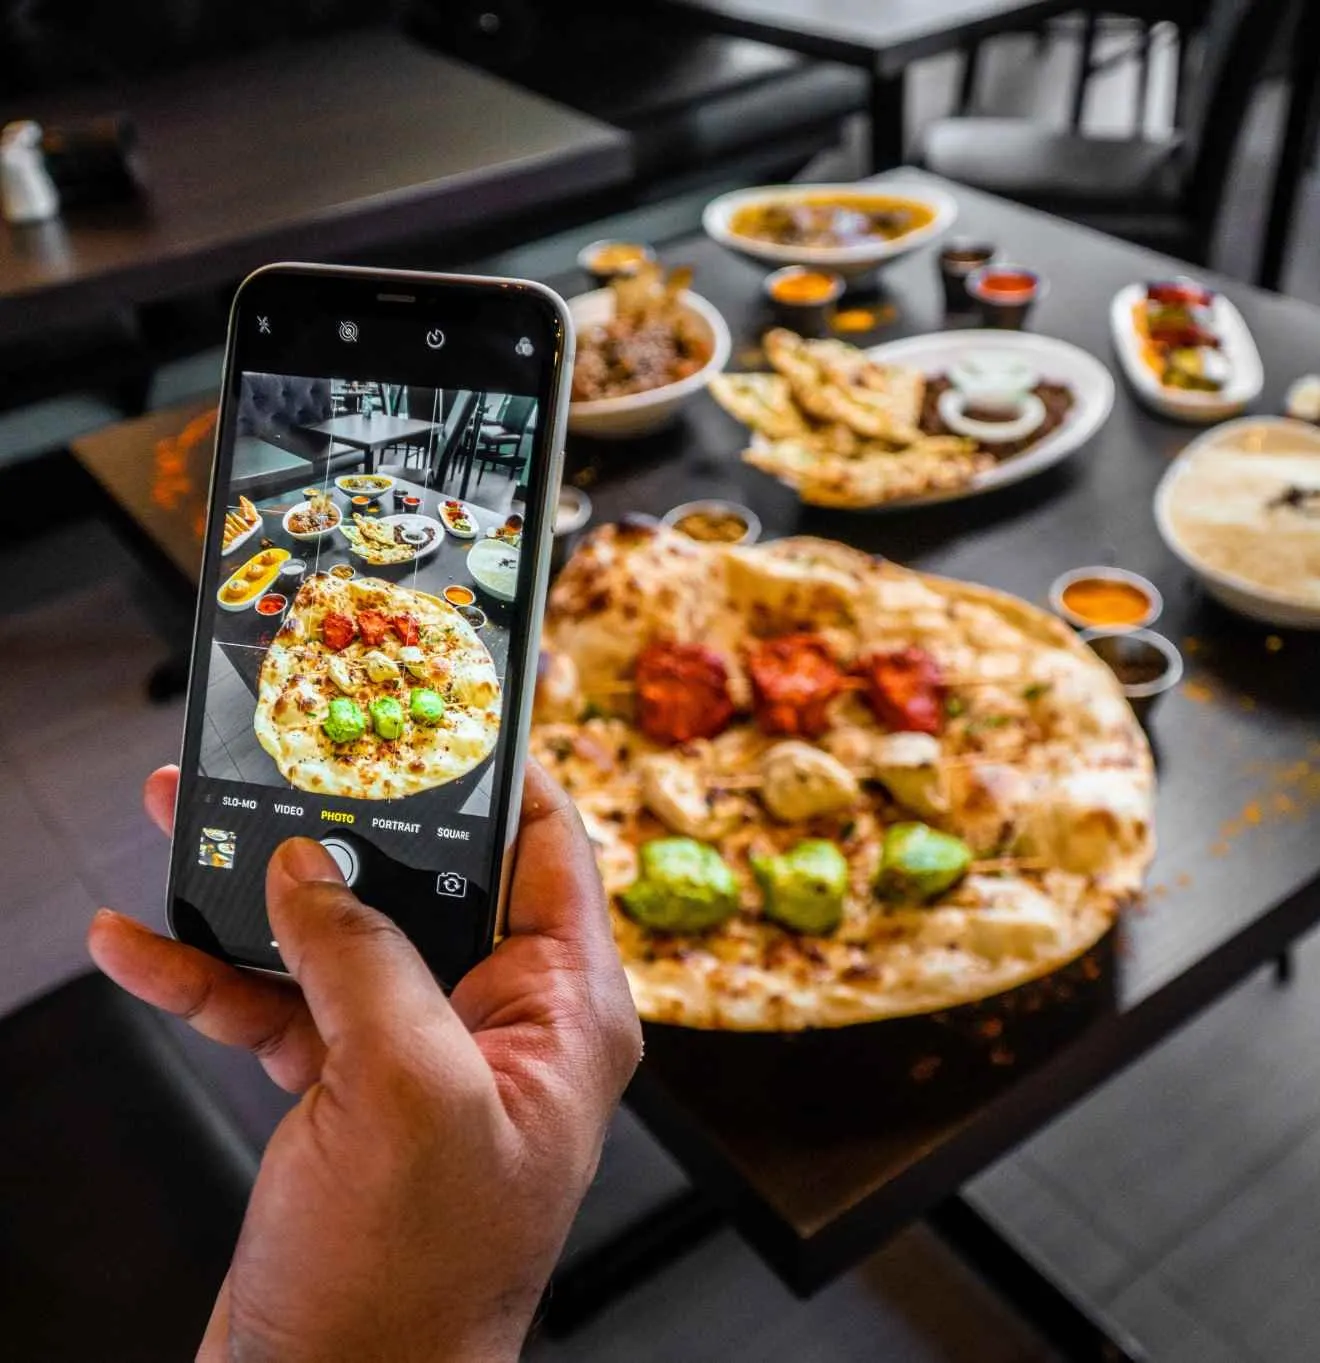
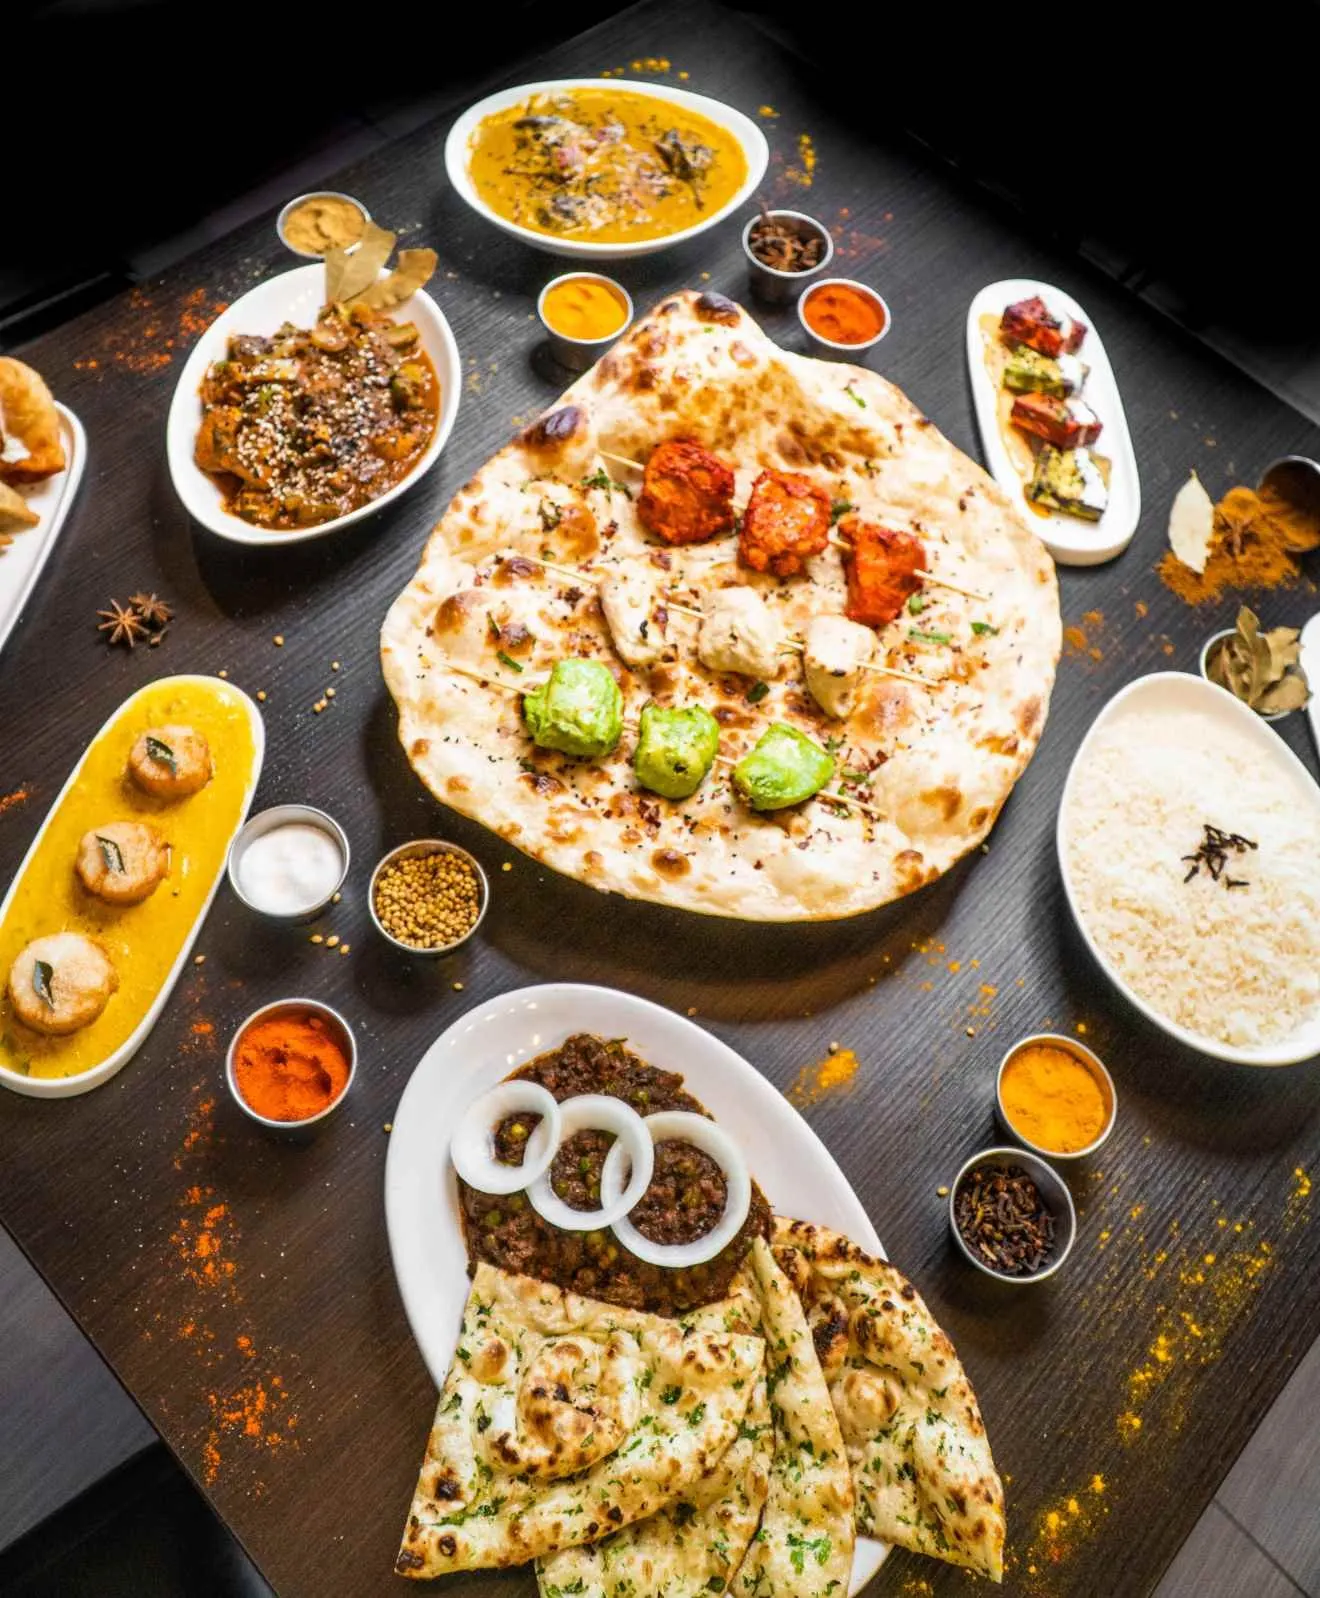
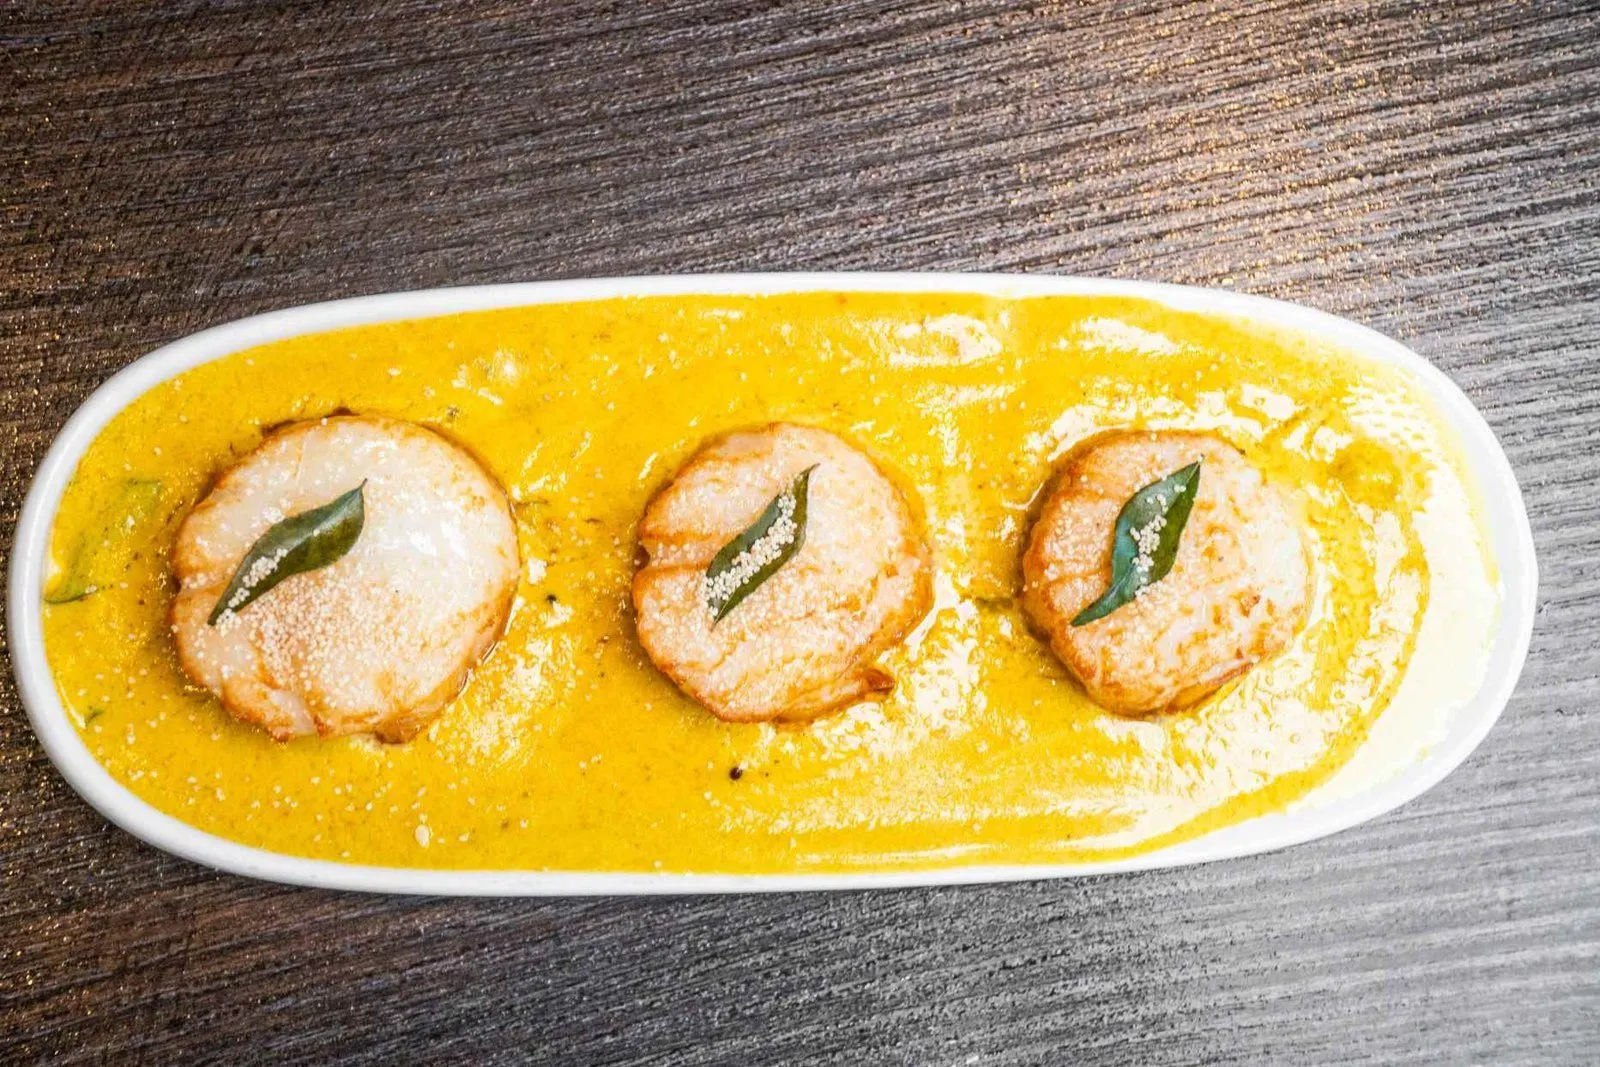
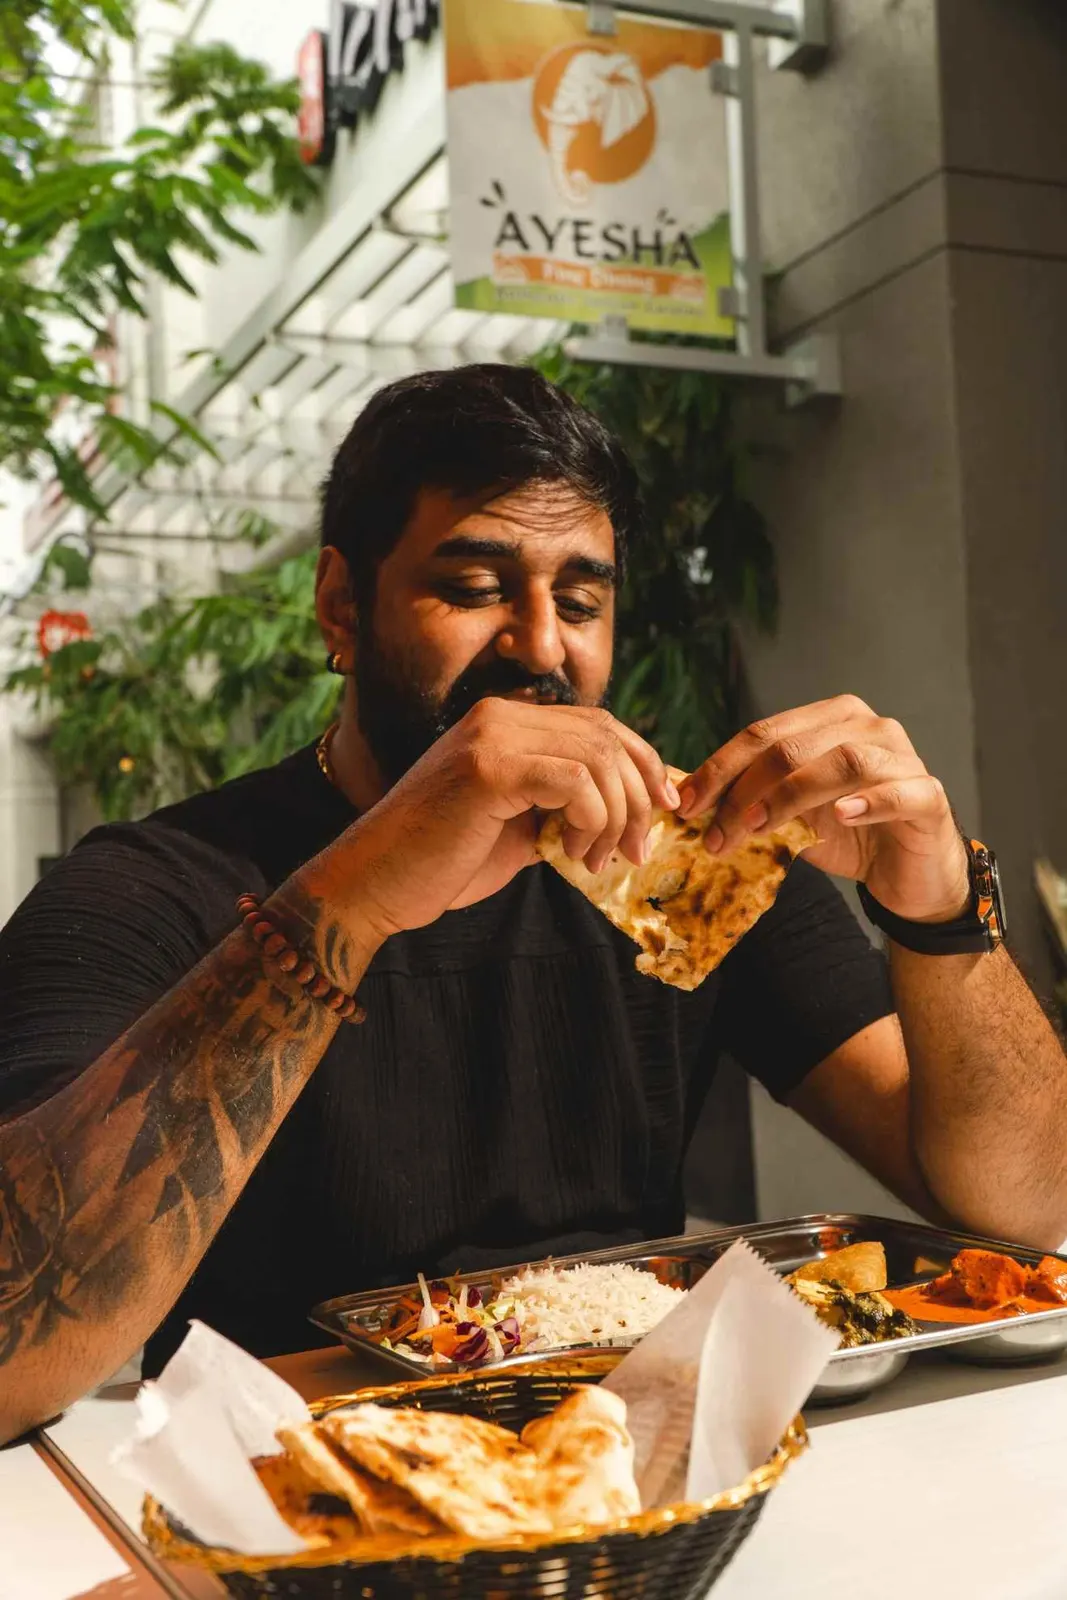
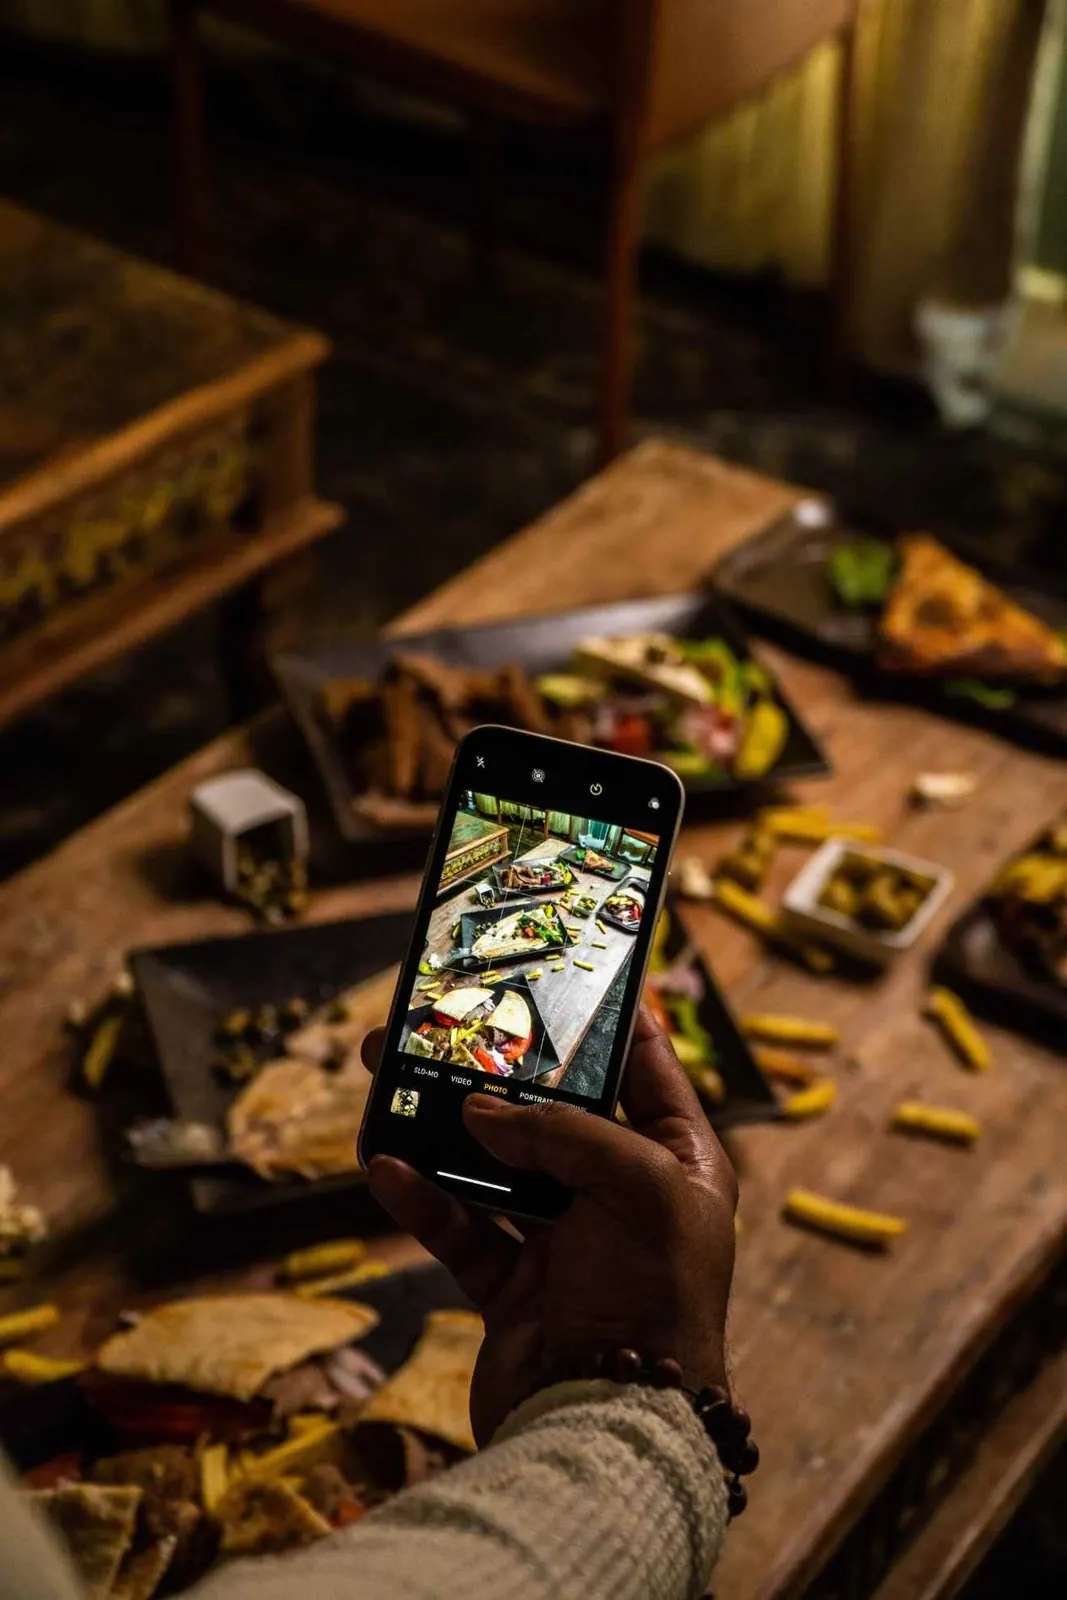
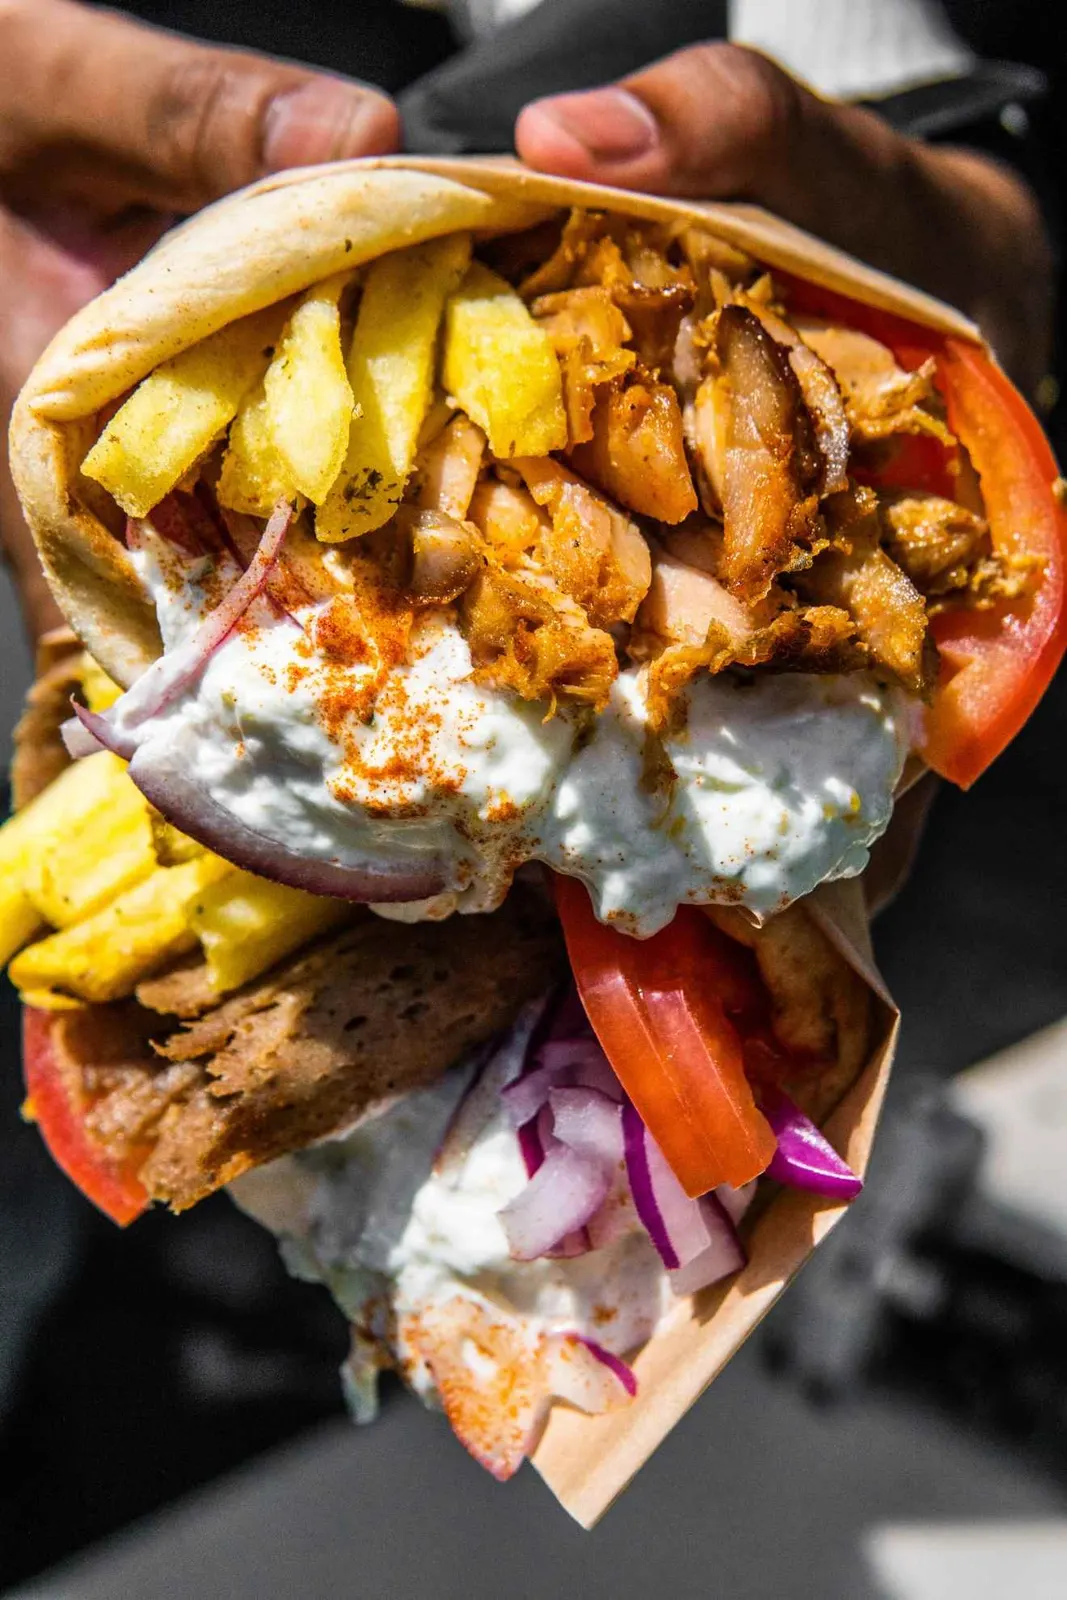
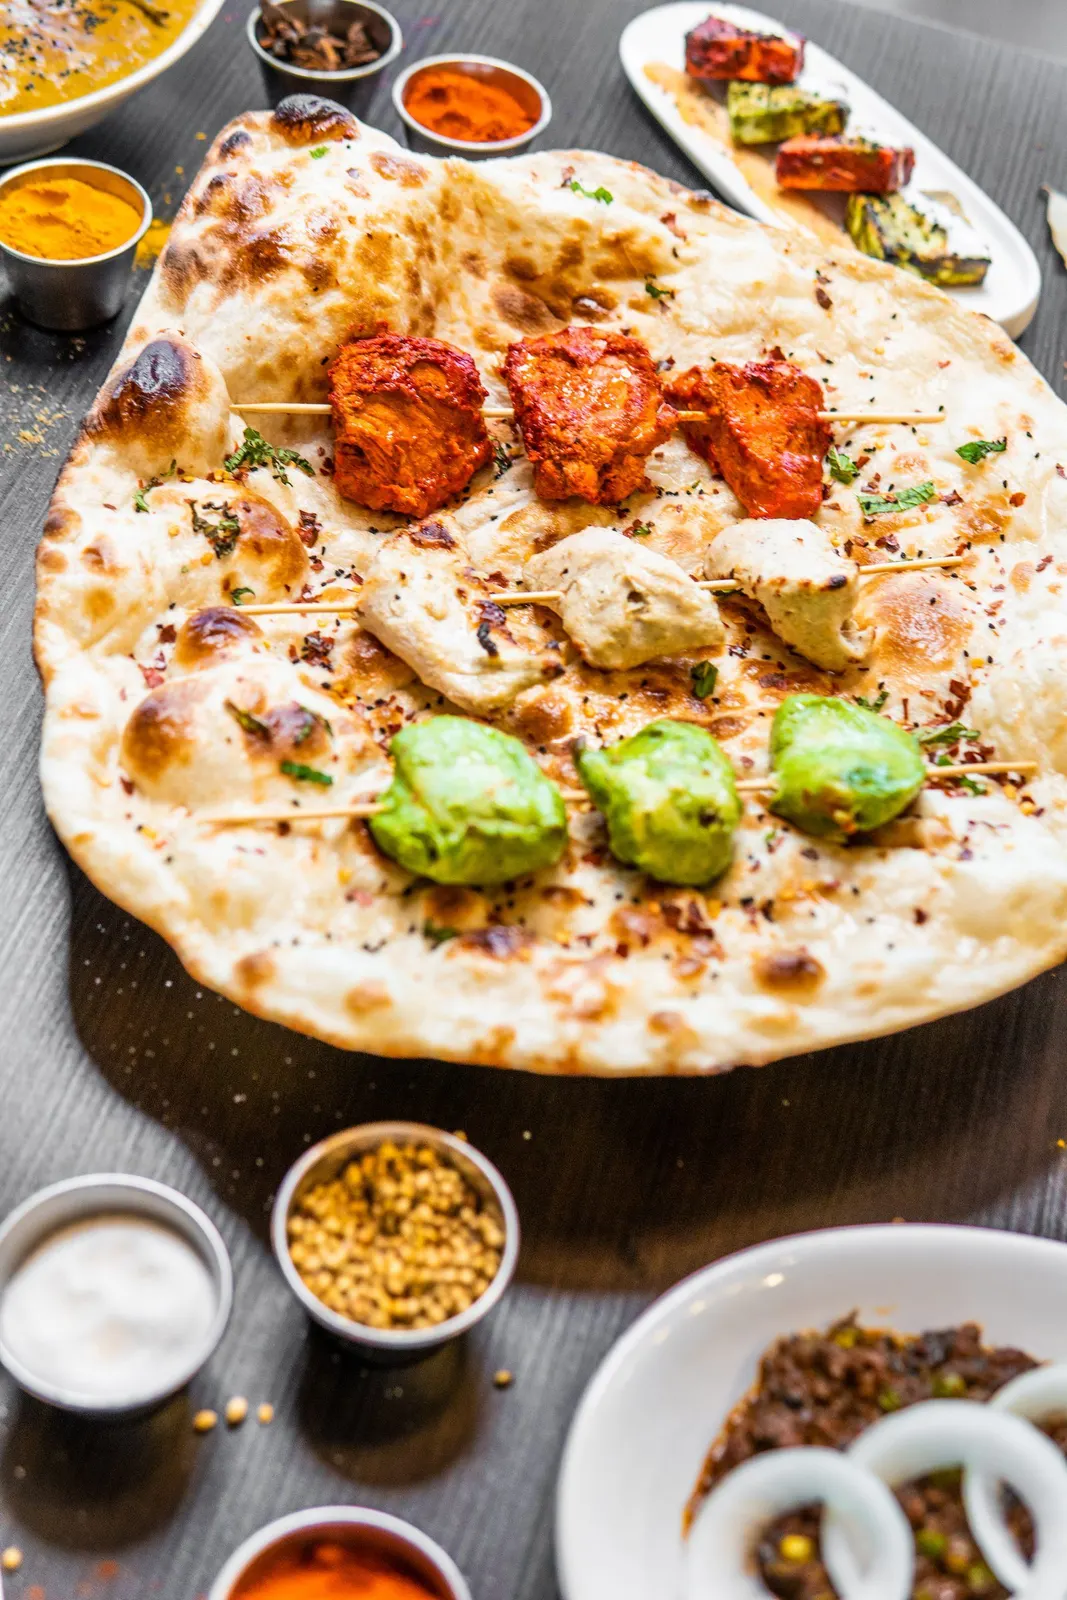
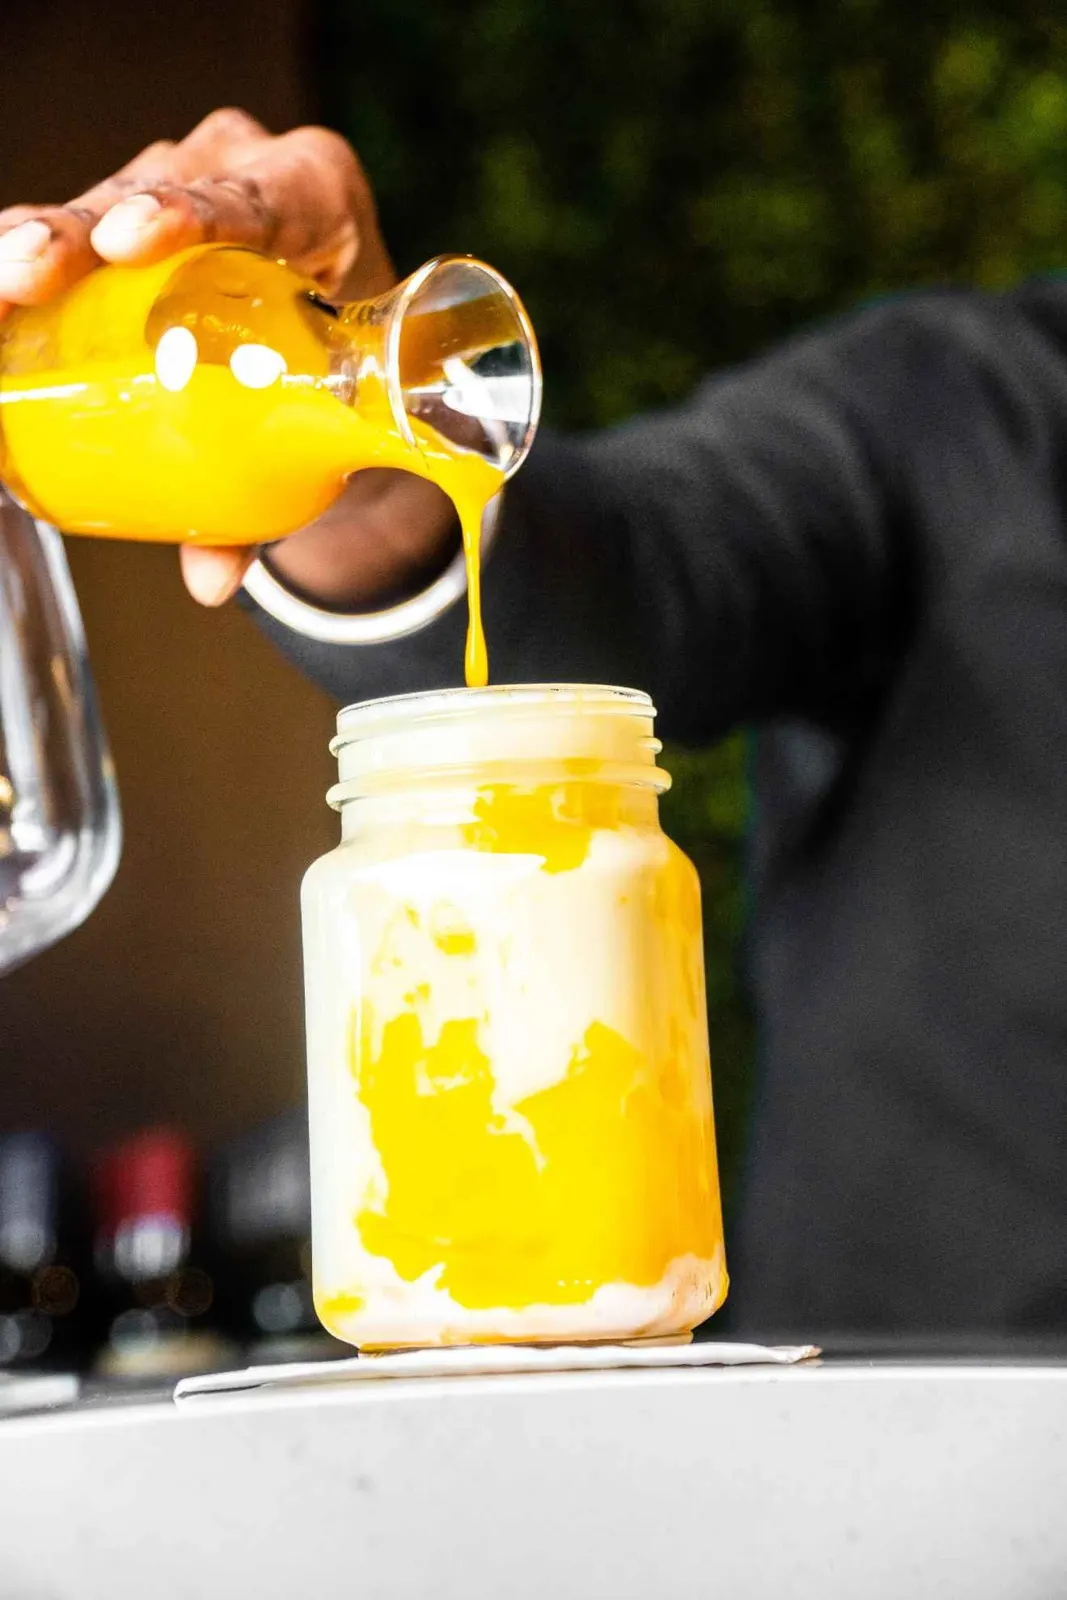
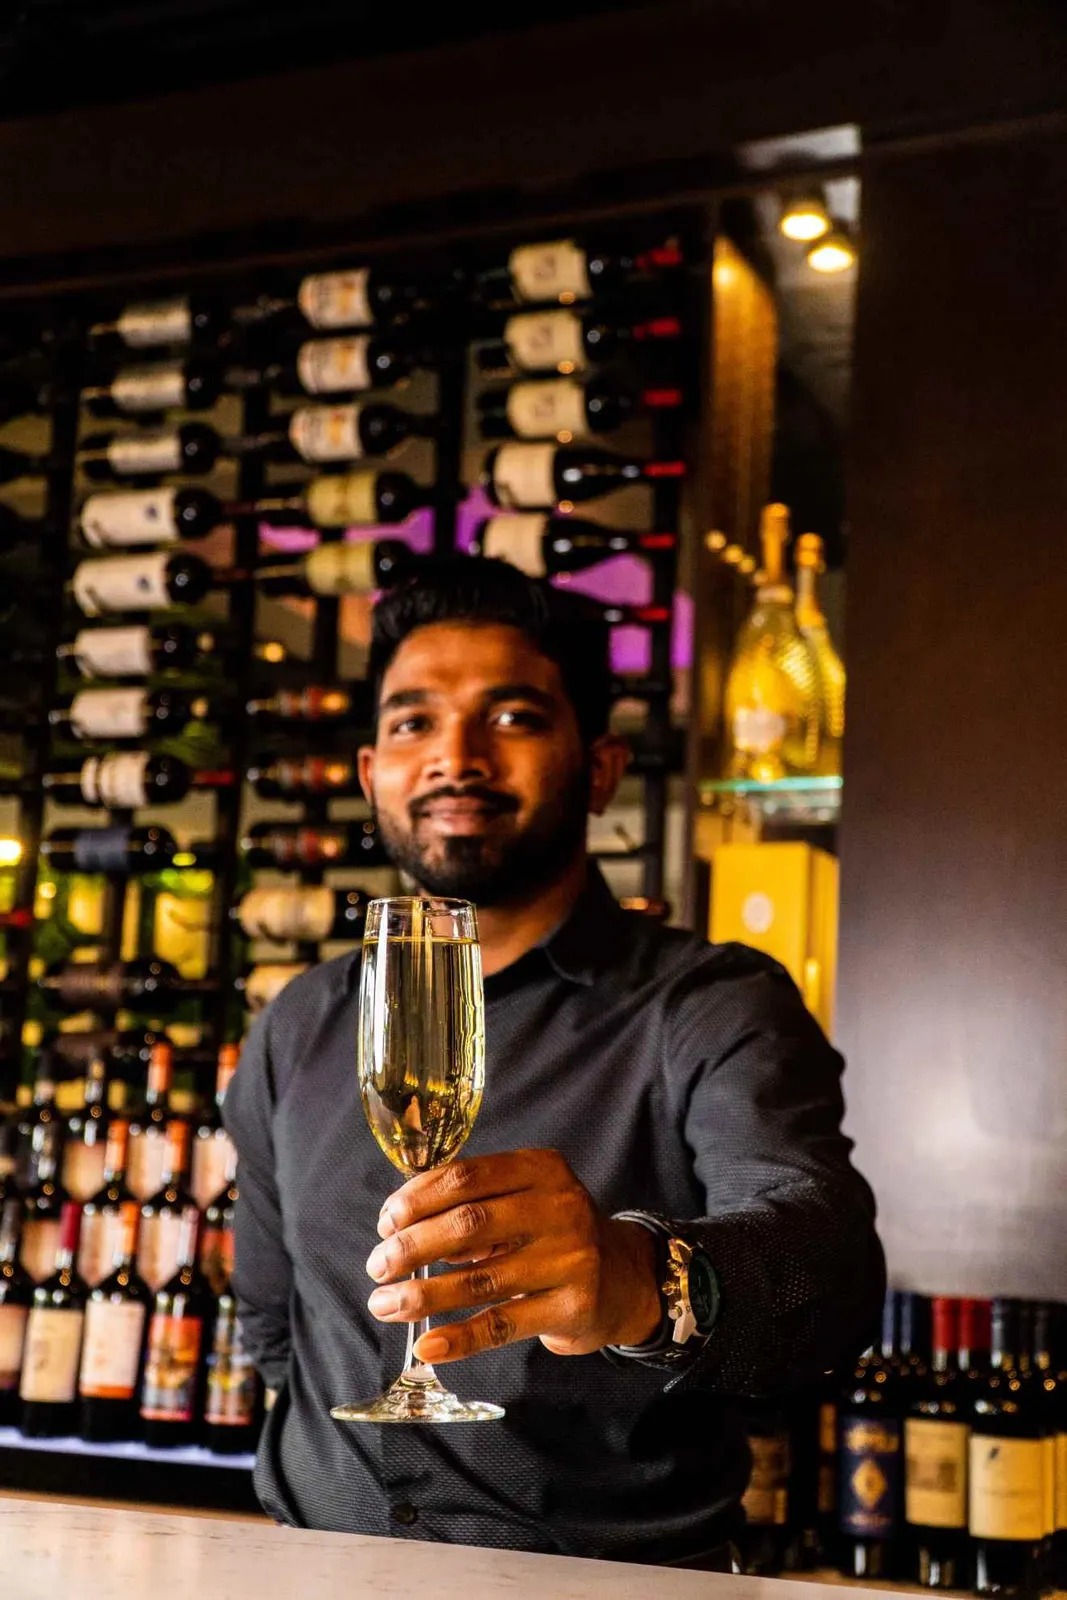
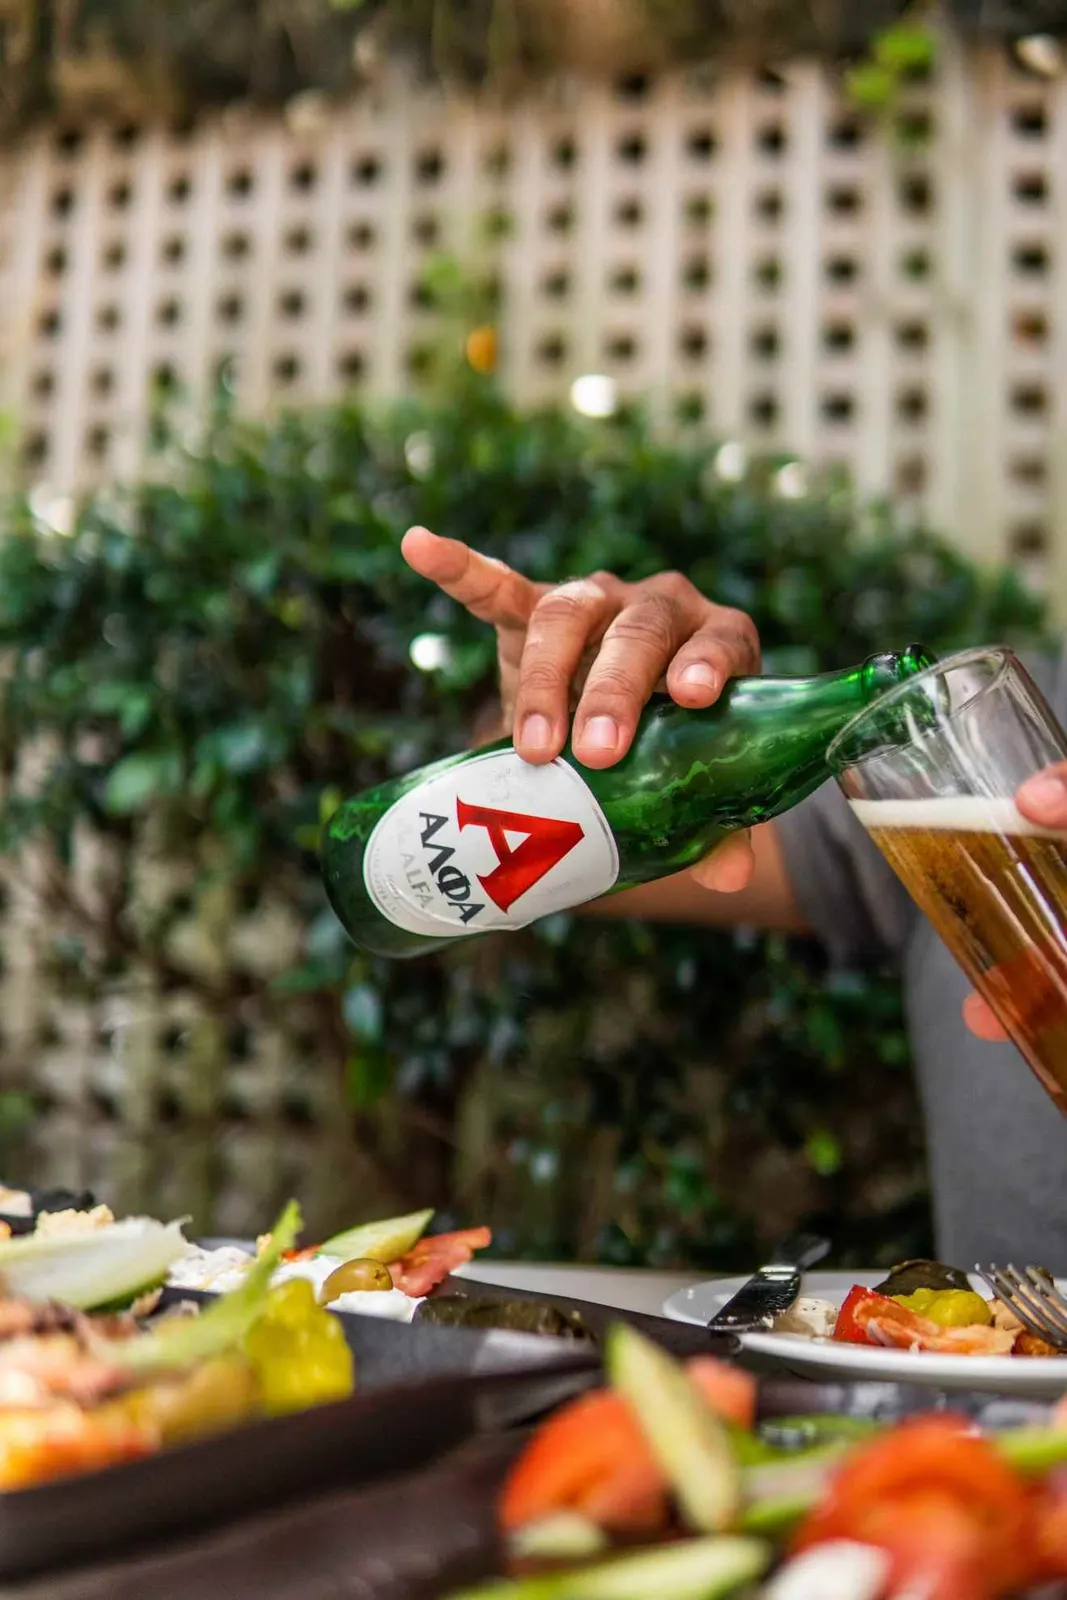
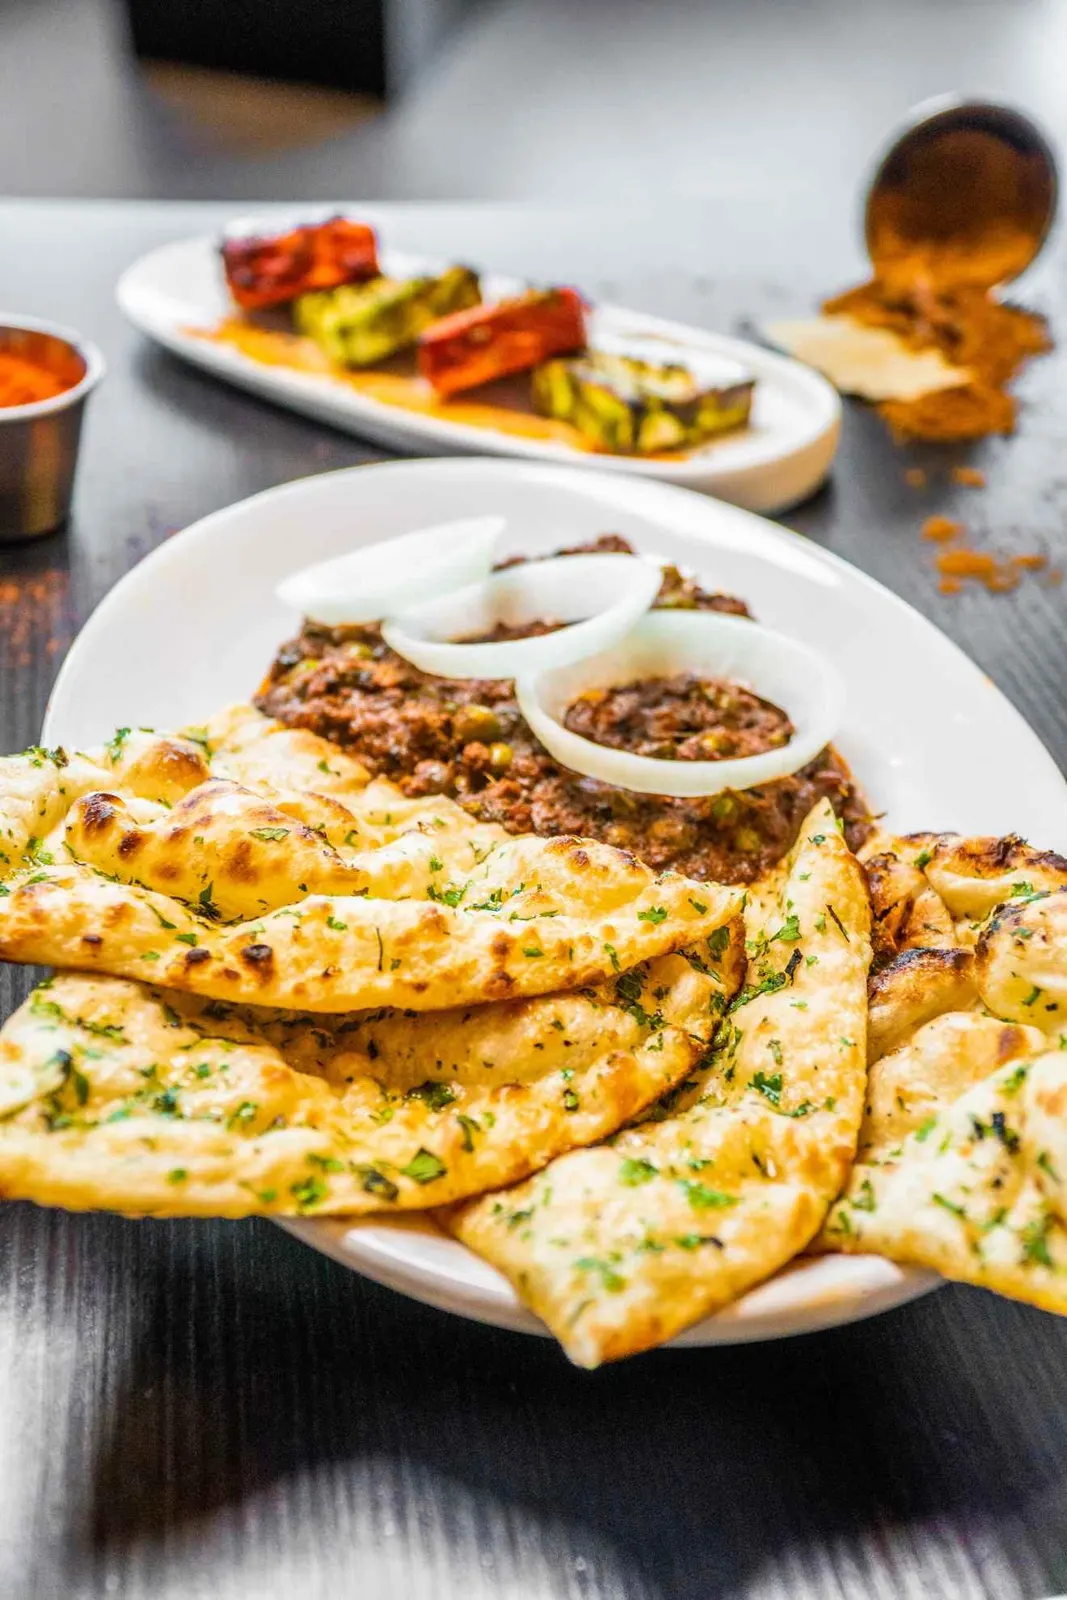
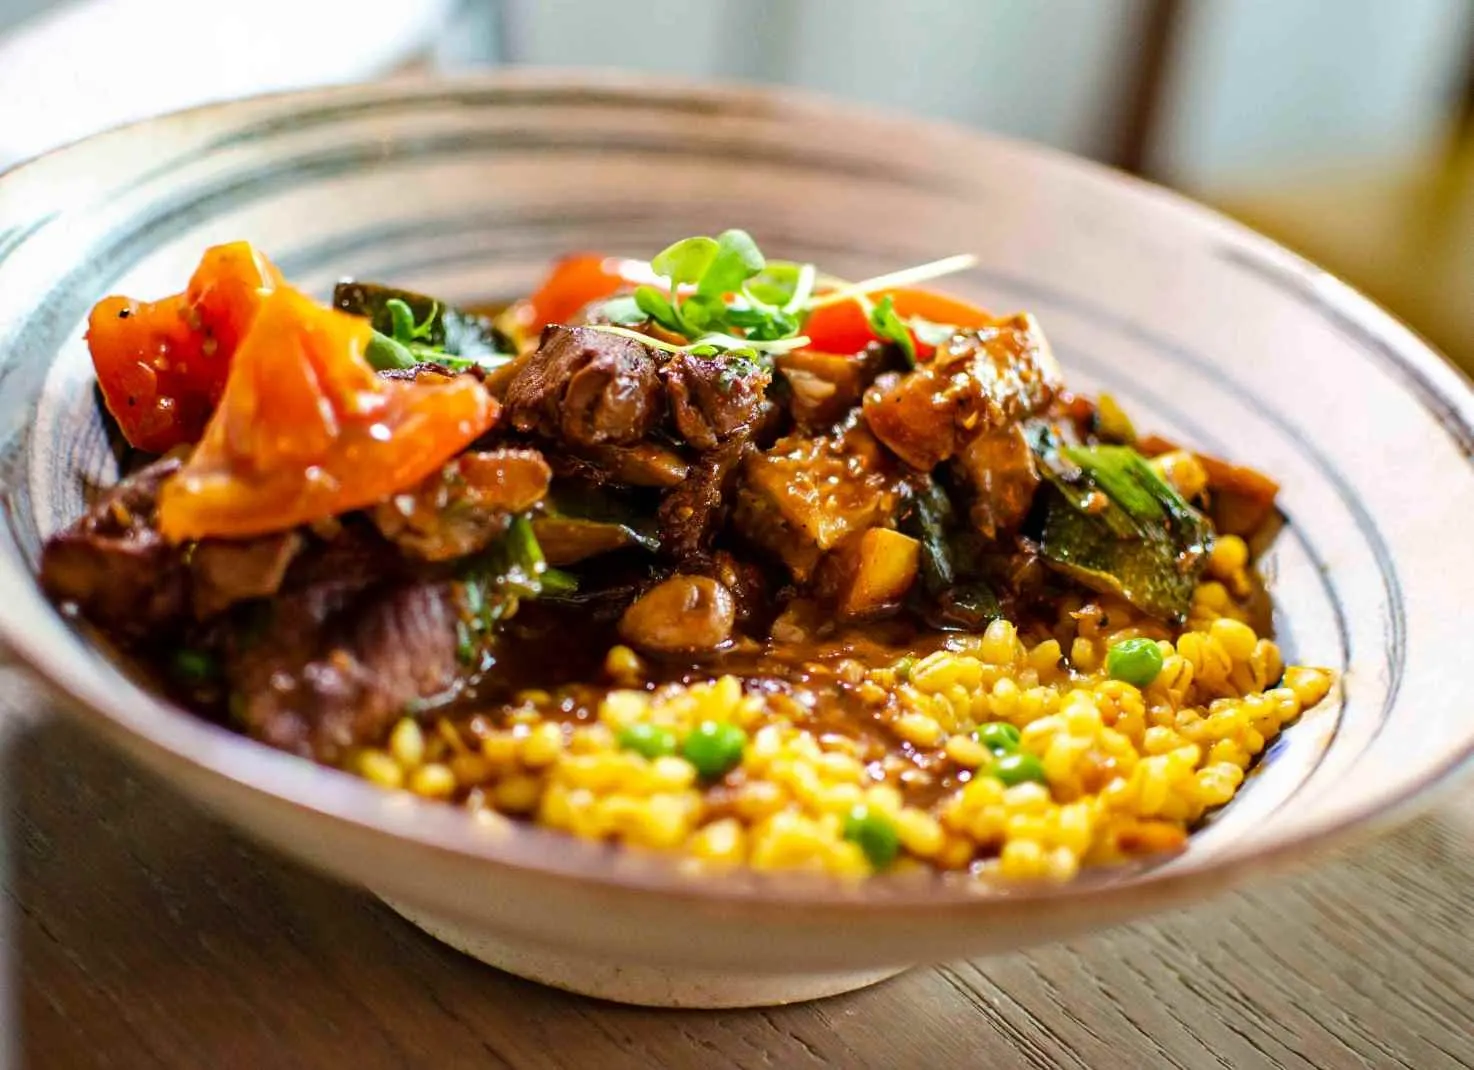
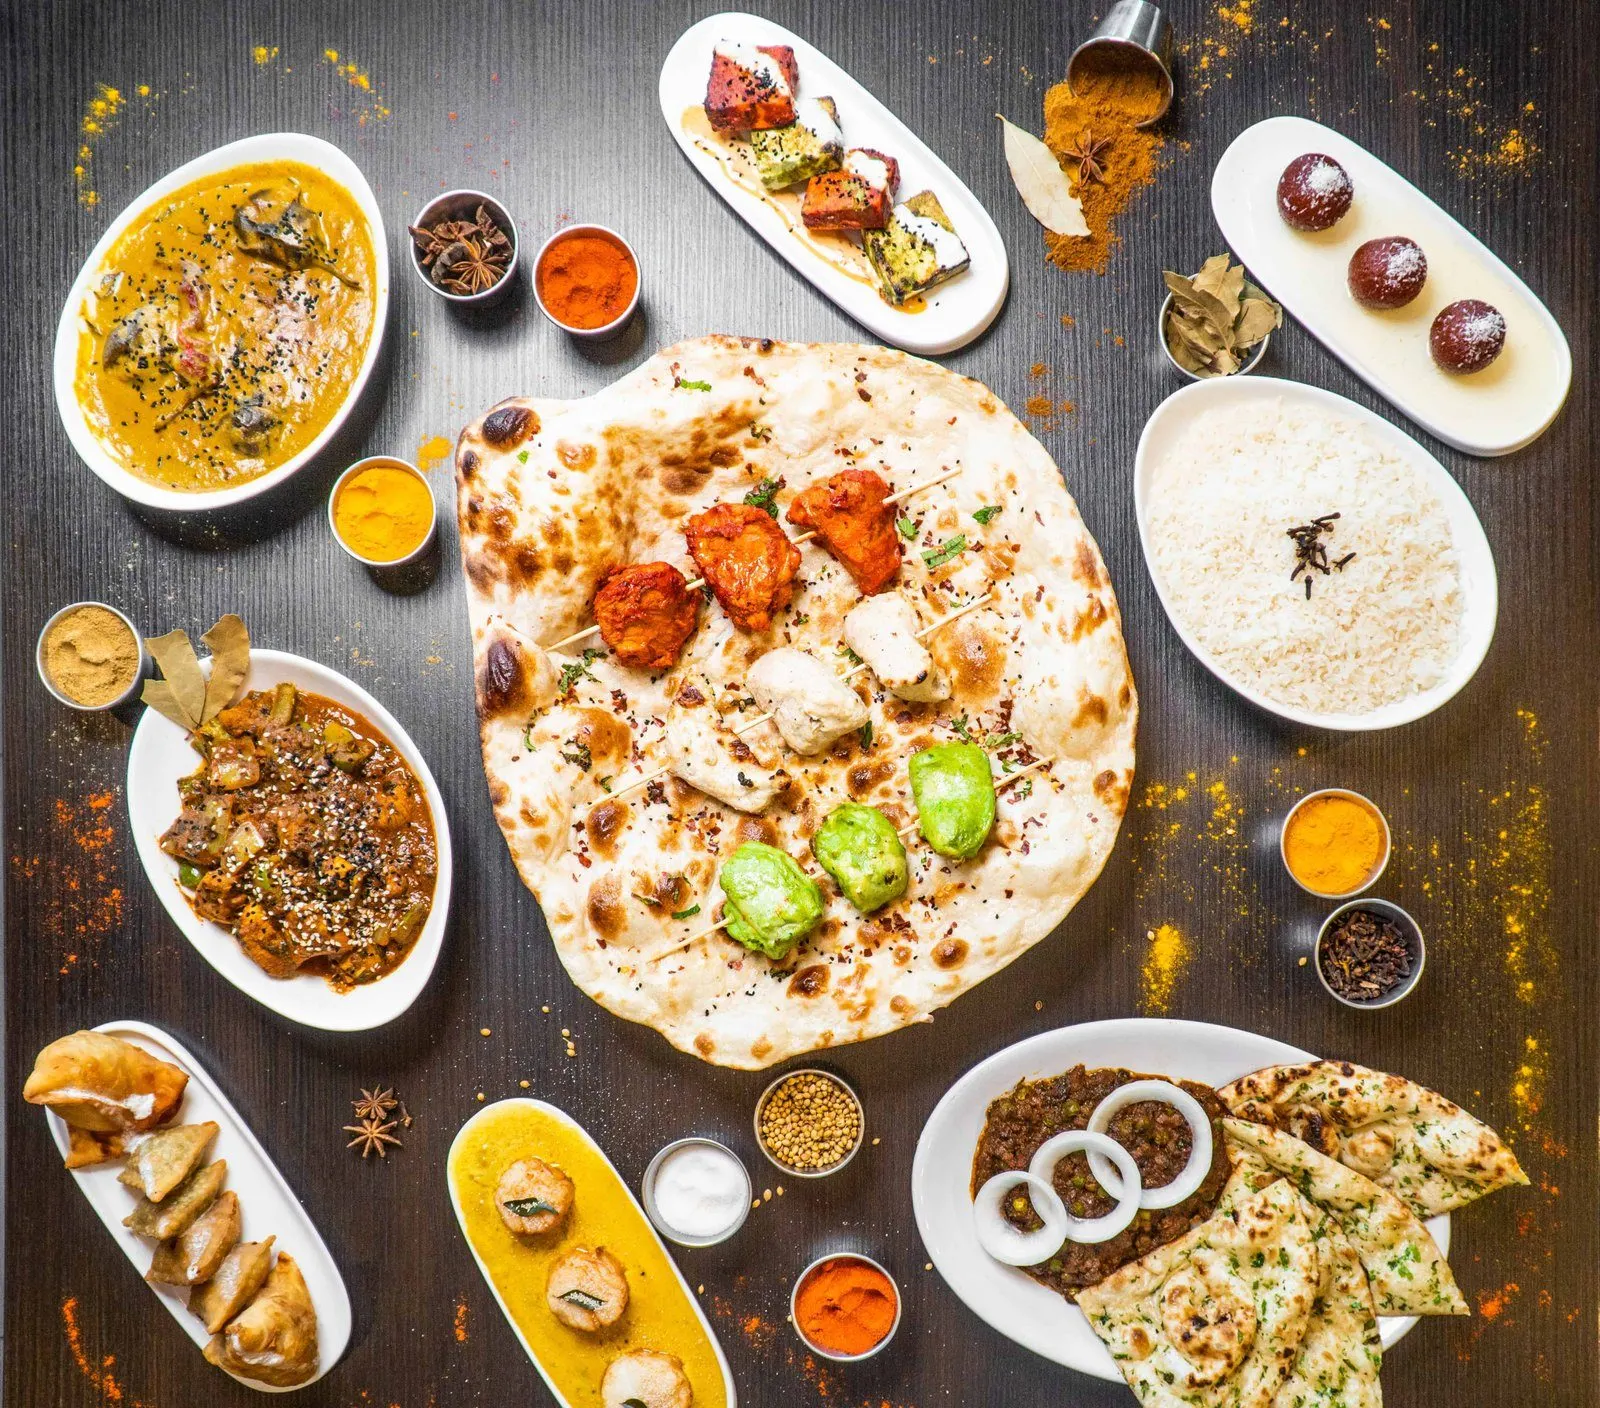
We photograph plated food, close-up ingredient shots, and contextual restaurant scenes. Work is aimed at clear, appetizing images for menus, social media, and editorial use. Below are three practical guides to help your kitchen and front of house get ready and to make the shoot efficient and focused.
Start by choosing the dishes that represent your menu and taste best when plated. Pick items with fresh colors and clear structure. Plate one or two signature dishes plus a few supporting items like a composed salad and a close-up of a sauce or garnish. Clear your prep area so plating is consistent. Label each dish with its full name and any plating notes. If you plan to use images for printed menus, consider how crop and orientation will affect layout. Bring extra garnishes and a clean set of plates so the kitchen can replate quickly between shoots.
Food posing is deliberate and simple. Think of small changes: tilt a plate slightly, lift a garnish, or brush a sauce to show texture. We direct these choices to make steam, shine, and layers visible. Avoid heavy sauces that hide details and keep extra crumbs or drips off the rim unless you want a casual look. For drinks and cocktails, wipe condensation and use fresh ice or clear acrylic cubes to keep color true. Have a team member ready to rotate plates, add a final herb, or remove fingerprints so the session keeps moving without slowing service.
Aim for a mix of shot types so images work across menus, social posts, and editorial spreads. Capture a tight detail for texture, a three quarter plate shot for menu listings, and a wider scene with table setting or chef hands for storytelling. Vary orientation between portrait and landscape to fit different layouts. Capture one clean, centered hero shot and several supporting views that show portion and ingredients. If you plan a social carousel or editorial spread, include sequence shots that show a small progression like slicing, pouring, or a garnish placed by hand.
A clear plan keeps shoots short and useful. We focus on simple stages that align with your menu and promotional needs. Below are the four stages we use to make sure you have images that fit printed menus, social media, and editorial placements.
Decide where the photos will appear and what each image must communicate. Is the priority printed menus, Instagram posts, or a magazine feature? Note any size or crop preferences, and mark dishes that must appear front and center. This stage sets the visual tone. A clear goal helps prioritize which dishes to plate first, whether you need tight detail shots, or wider scenes that show the dining space.
Choose plateware, linens, and props that match your restaurant style. Lighter plates suit bright, modern food while darker plates can help rich sauces stand out. Decide on backgrounds and table setups ahead of time to avoid changing too much during the session. Set lighting choices that match final use – flat, even light for menus and moodier directional light for editorial features. Make a short shot list that includes hero shots, detail crops, and contextual scenes.
During the shoot we guide plating, small adjustments, and camera angles. Focus is on speed and consistency. Work through the shot list one dish at a time, capturing a hero frame plus two to three supporting views. Small, repeatable changes to garnish or angle make large differences in how appetizing a plate looks. Keep the kitchen coordinated so fresh plates arrive quickly and the team can replate as needed without disrupting service.
At the end of the session, review the set of images to confirm you have the mix needed across uses. Look for at least one clear hero and several supporting views for each dish. Check that you have both portrait and landscape crops, plus a detail and a contextual shot when relevant. This evaluation helps ensure you can place images into menus, social posts, and editorial pages without extra shoots.
Get a quote
Contact for a quote
Prepare by selecting the dishes you want photographed and keeping the kitchen organized. Plate a few samples early and note plating details. Assign a single contact to manage plating and timing so dishes arrive consistently during the shoot. Have spare garnishes, clean plates, and utensils on hand. Clear workspace for quick replate and a small table near the shoot area to hold finished plates. If shooting during service, schedule a window when the kitchen can focus on a steady stream of dishes without interrupting peak hours.
A short rehearsal helps. Run through one or two dishes to confirm plating style and proportions. Practice small adjustments like tilting a plate, where a garnish sits, or how a sauce is drizzled. A quick trial shows if a dish needs a different plate or less sauce. Rehearsal shortens the actual shoot and avoids last minute tweaks. Keep rehearsals practical and focused on repeatable looks you can recreate by the kitchen during the session.
Both studio and on site have advantages. Studio shoots give controlled light, consistent backgrounds, and focused detail shots that work well for menus. On site shoots capture atmosphere, table setup, and the dining room context that helps social and editorial stories. If you need both, schedule a short studio session for tight hero shots and an on site visit for scene-setting images. Decide based on whether the priority is accurate plate color and texture or authentic dining environment.
Match image type to use. For printed menus choose clear, centered shots that show portion and key ingredients. For social media pick a mix of hero images and lifestyle scenes that tell a short story. For editorial use include contextual shots like chef hands, plating action, and wider room views. Make sure you have both portrait and landscape crops for different layouts. Prioritize images that honestly reflect portion size and plating so customers know what to expect.
Plan a shoot window when the kitchen can commit to plating consistent samples. Avoid peak service times unless you are photographing during live service with a second team helping plate. Build a prioritized shot list so the most important dishes are plated first. Allow short breaks for the chef to refresh garnishes and for the photographer to adjust lighting. Communicate timing and plate sequence clearly so the kitchen and front of house can coordinate plates, servers, and any props needed.
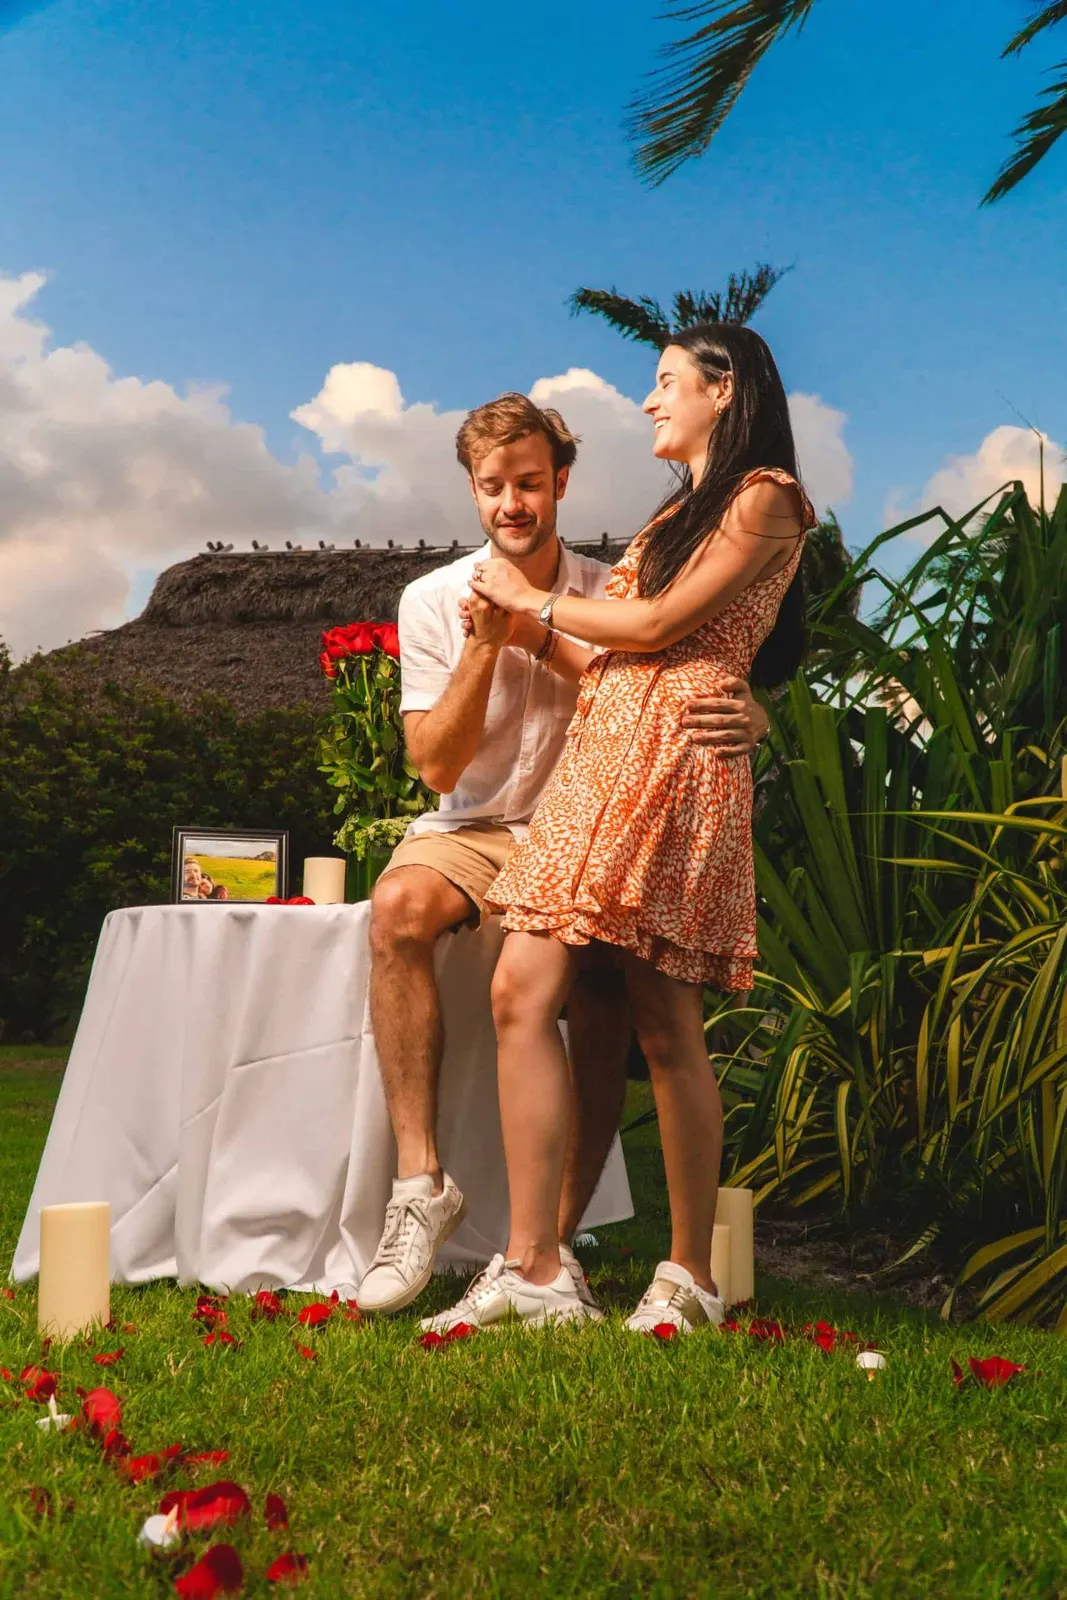
For couples who want honest ceremony photos, true portraits, and natural candid moments.
Learn more →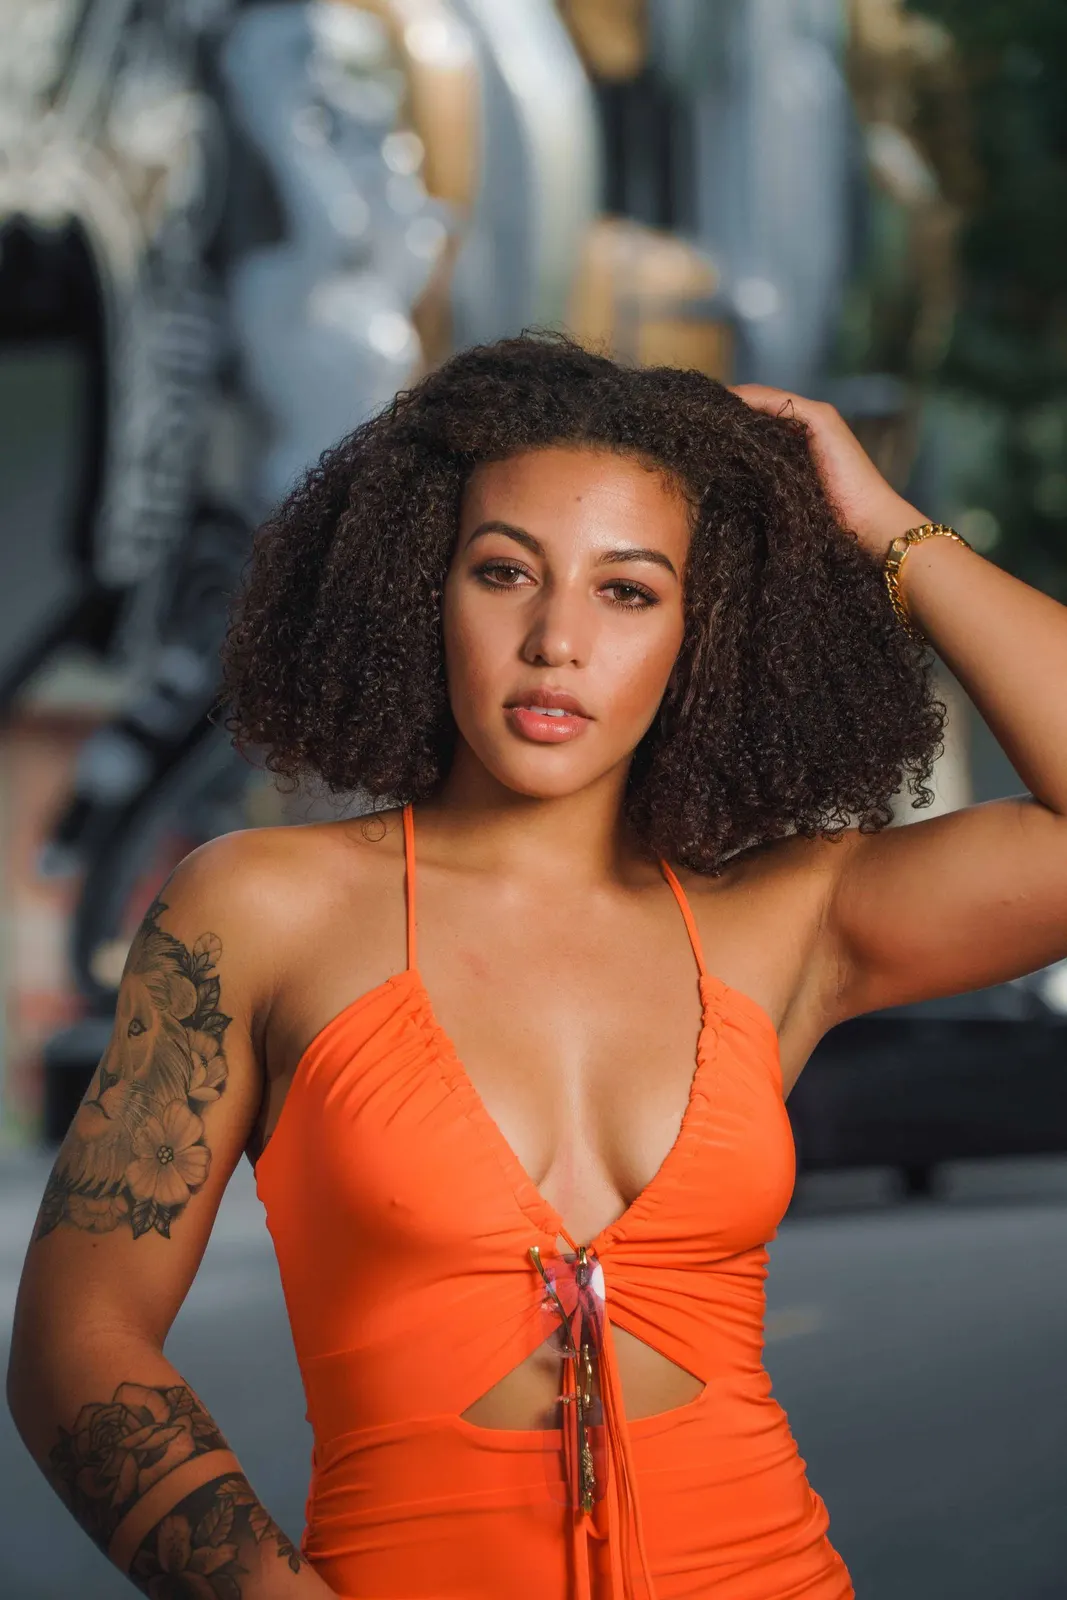
Portrait sessions for dating profiles, actor headshots, and everyday portraits.
Learn more →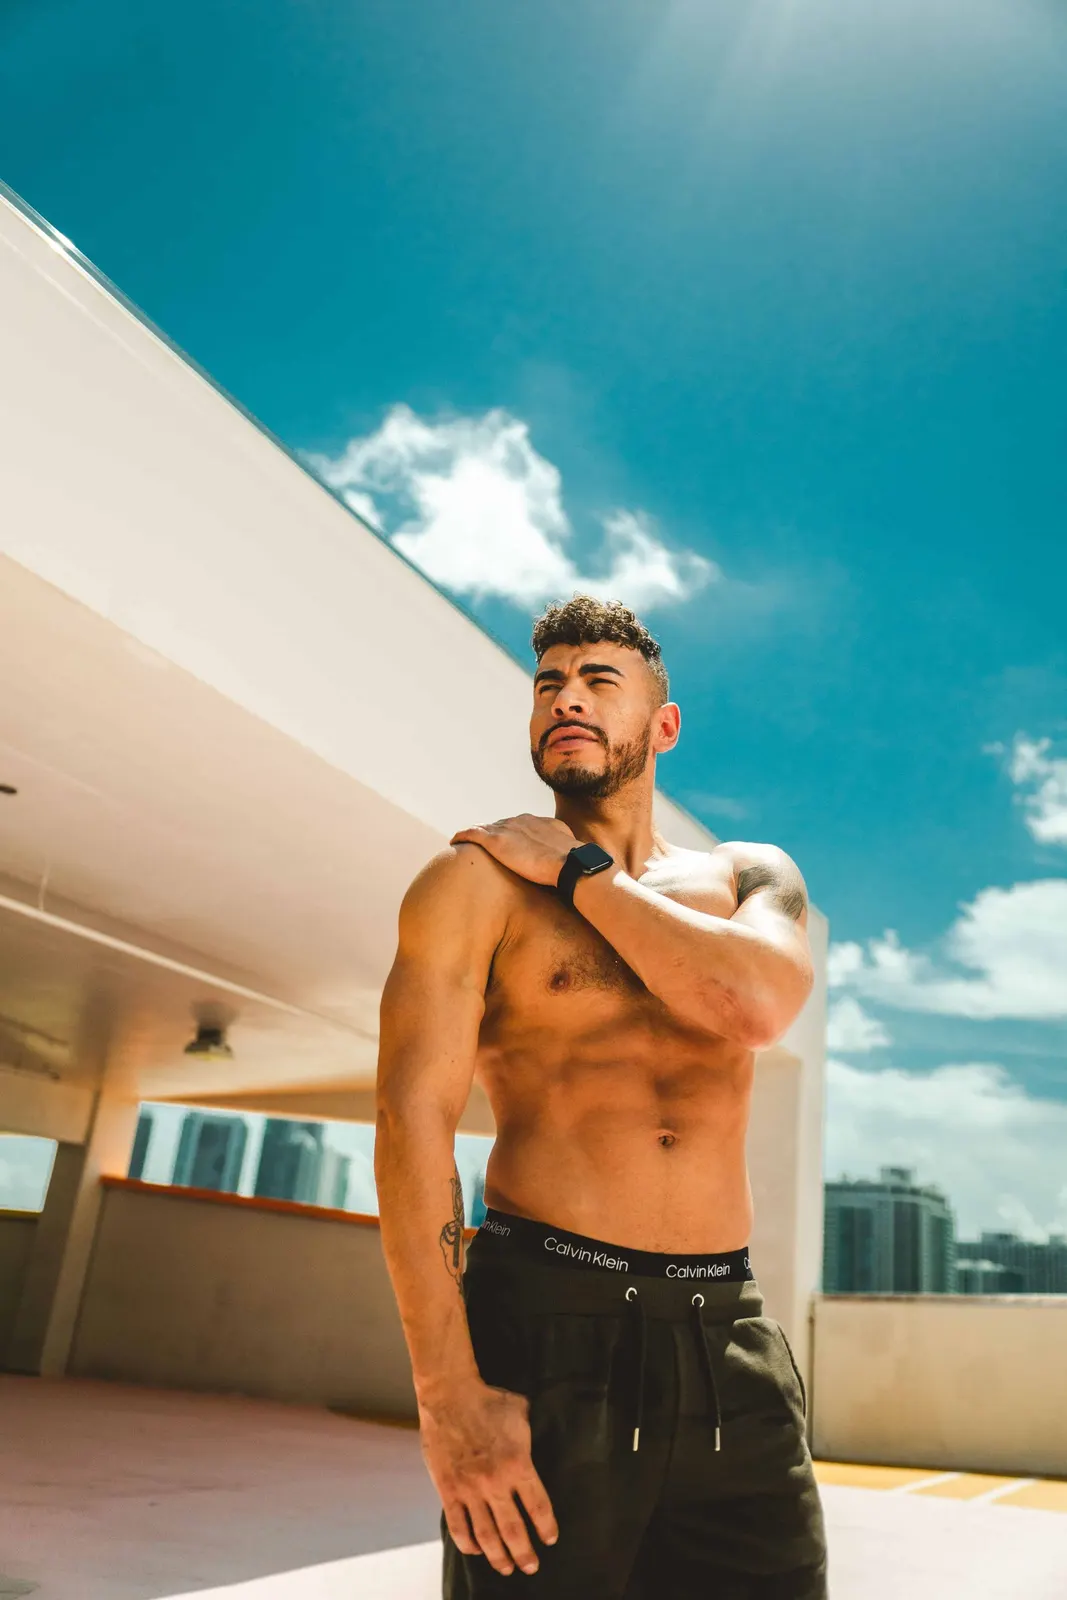
Content sessions and social-ready image sets for creators, small brands, and professionals who need steady…
Learn more →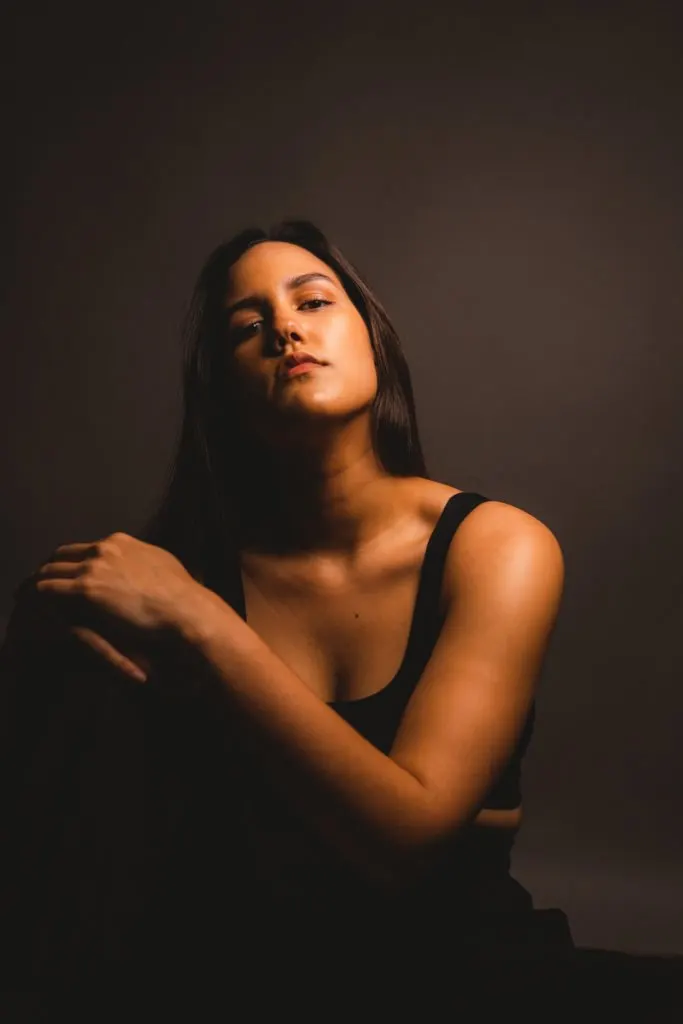
For designers, models, actors, and brands who need clear editorial portraits and campaign shots.
Learn more →
For teams and leaders who need clear, human business portraits.
Learn more →
Portraits and press photography for musicians, visual artists, and creative projects.
Learn more →Session Planning
When you contact us, share your menu, preferred shoot date, and where images will be used. Include any layout sizes or platform needs so we can plan shots that fit menus, social, or editorial pages.
Send a message and we will reply by text or email.
Please add a valid phone number or email so we can reach you.